Bicycle Painting
jul 7, 2018
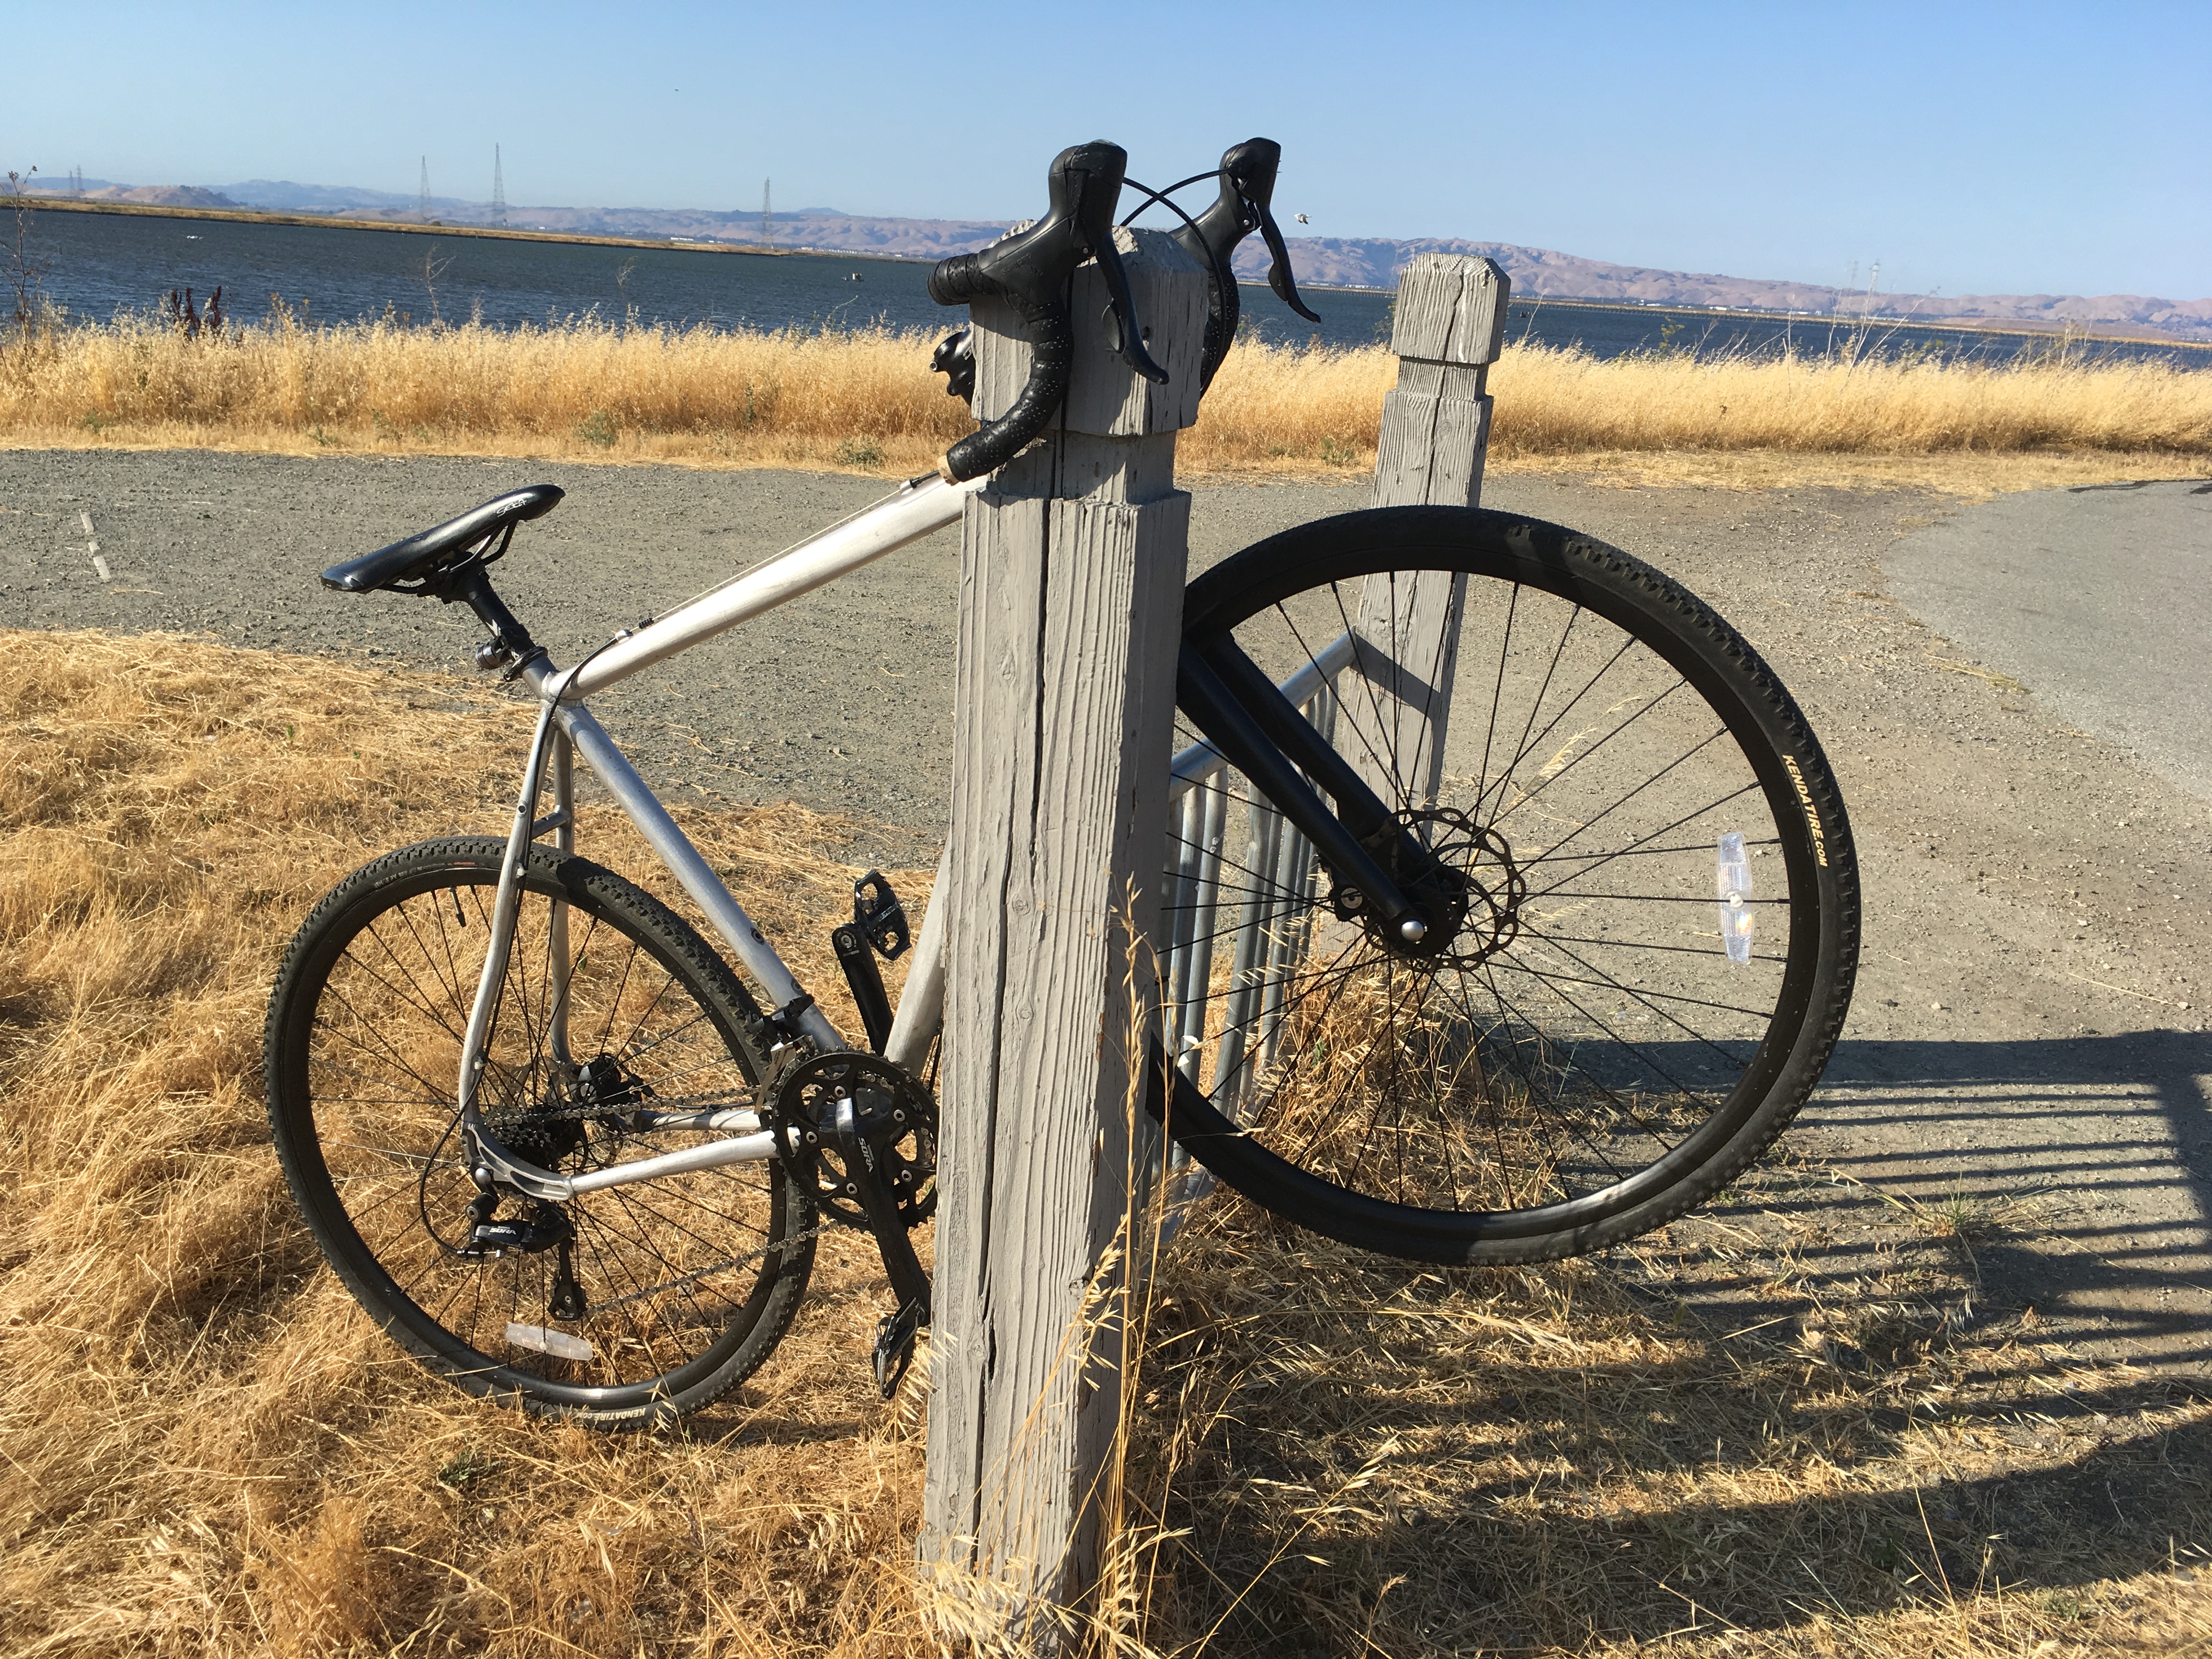
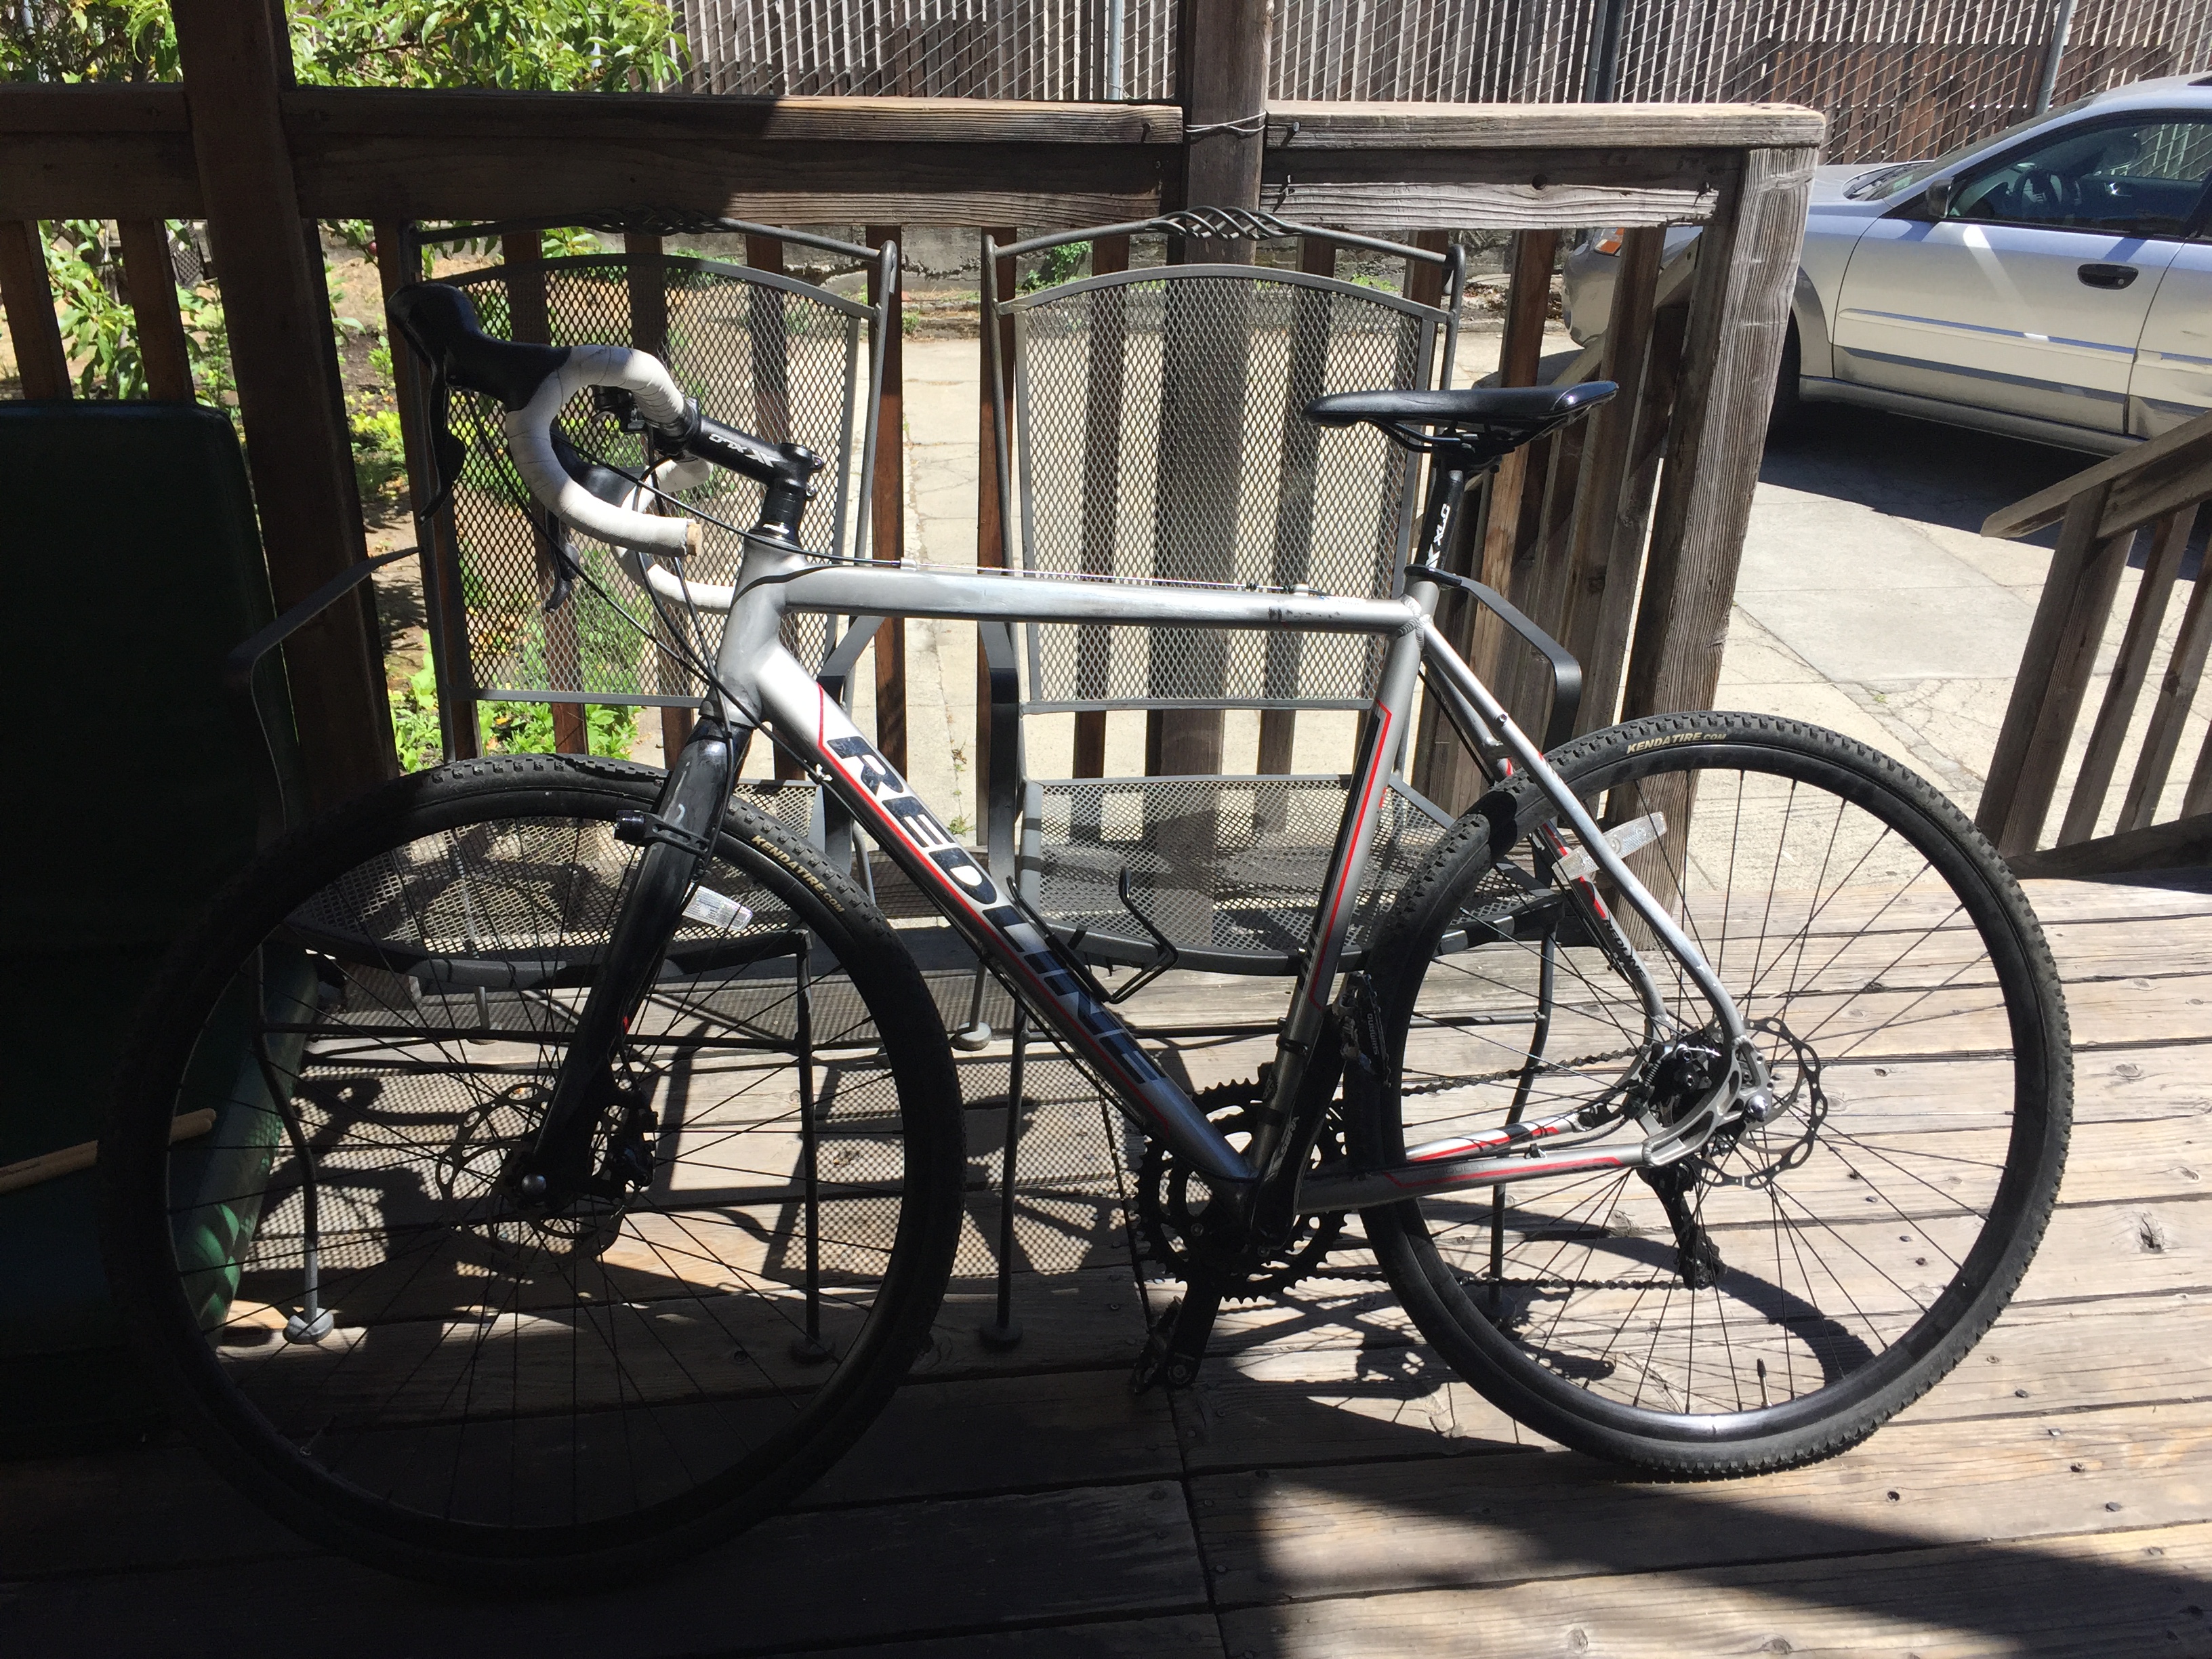
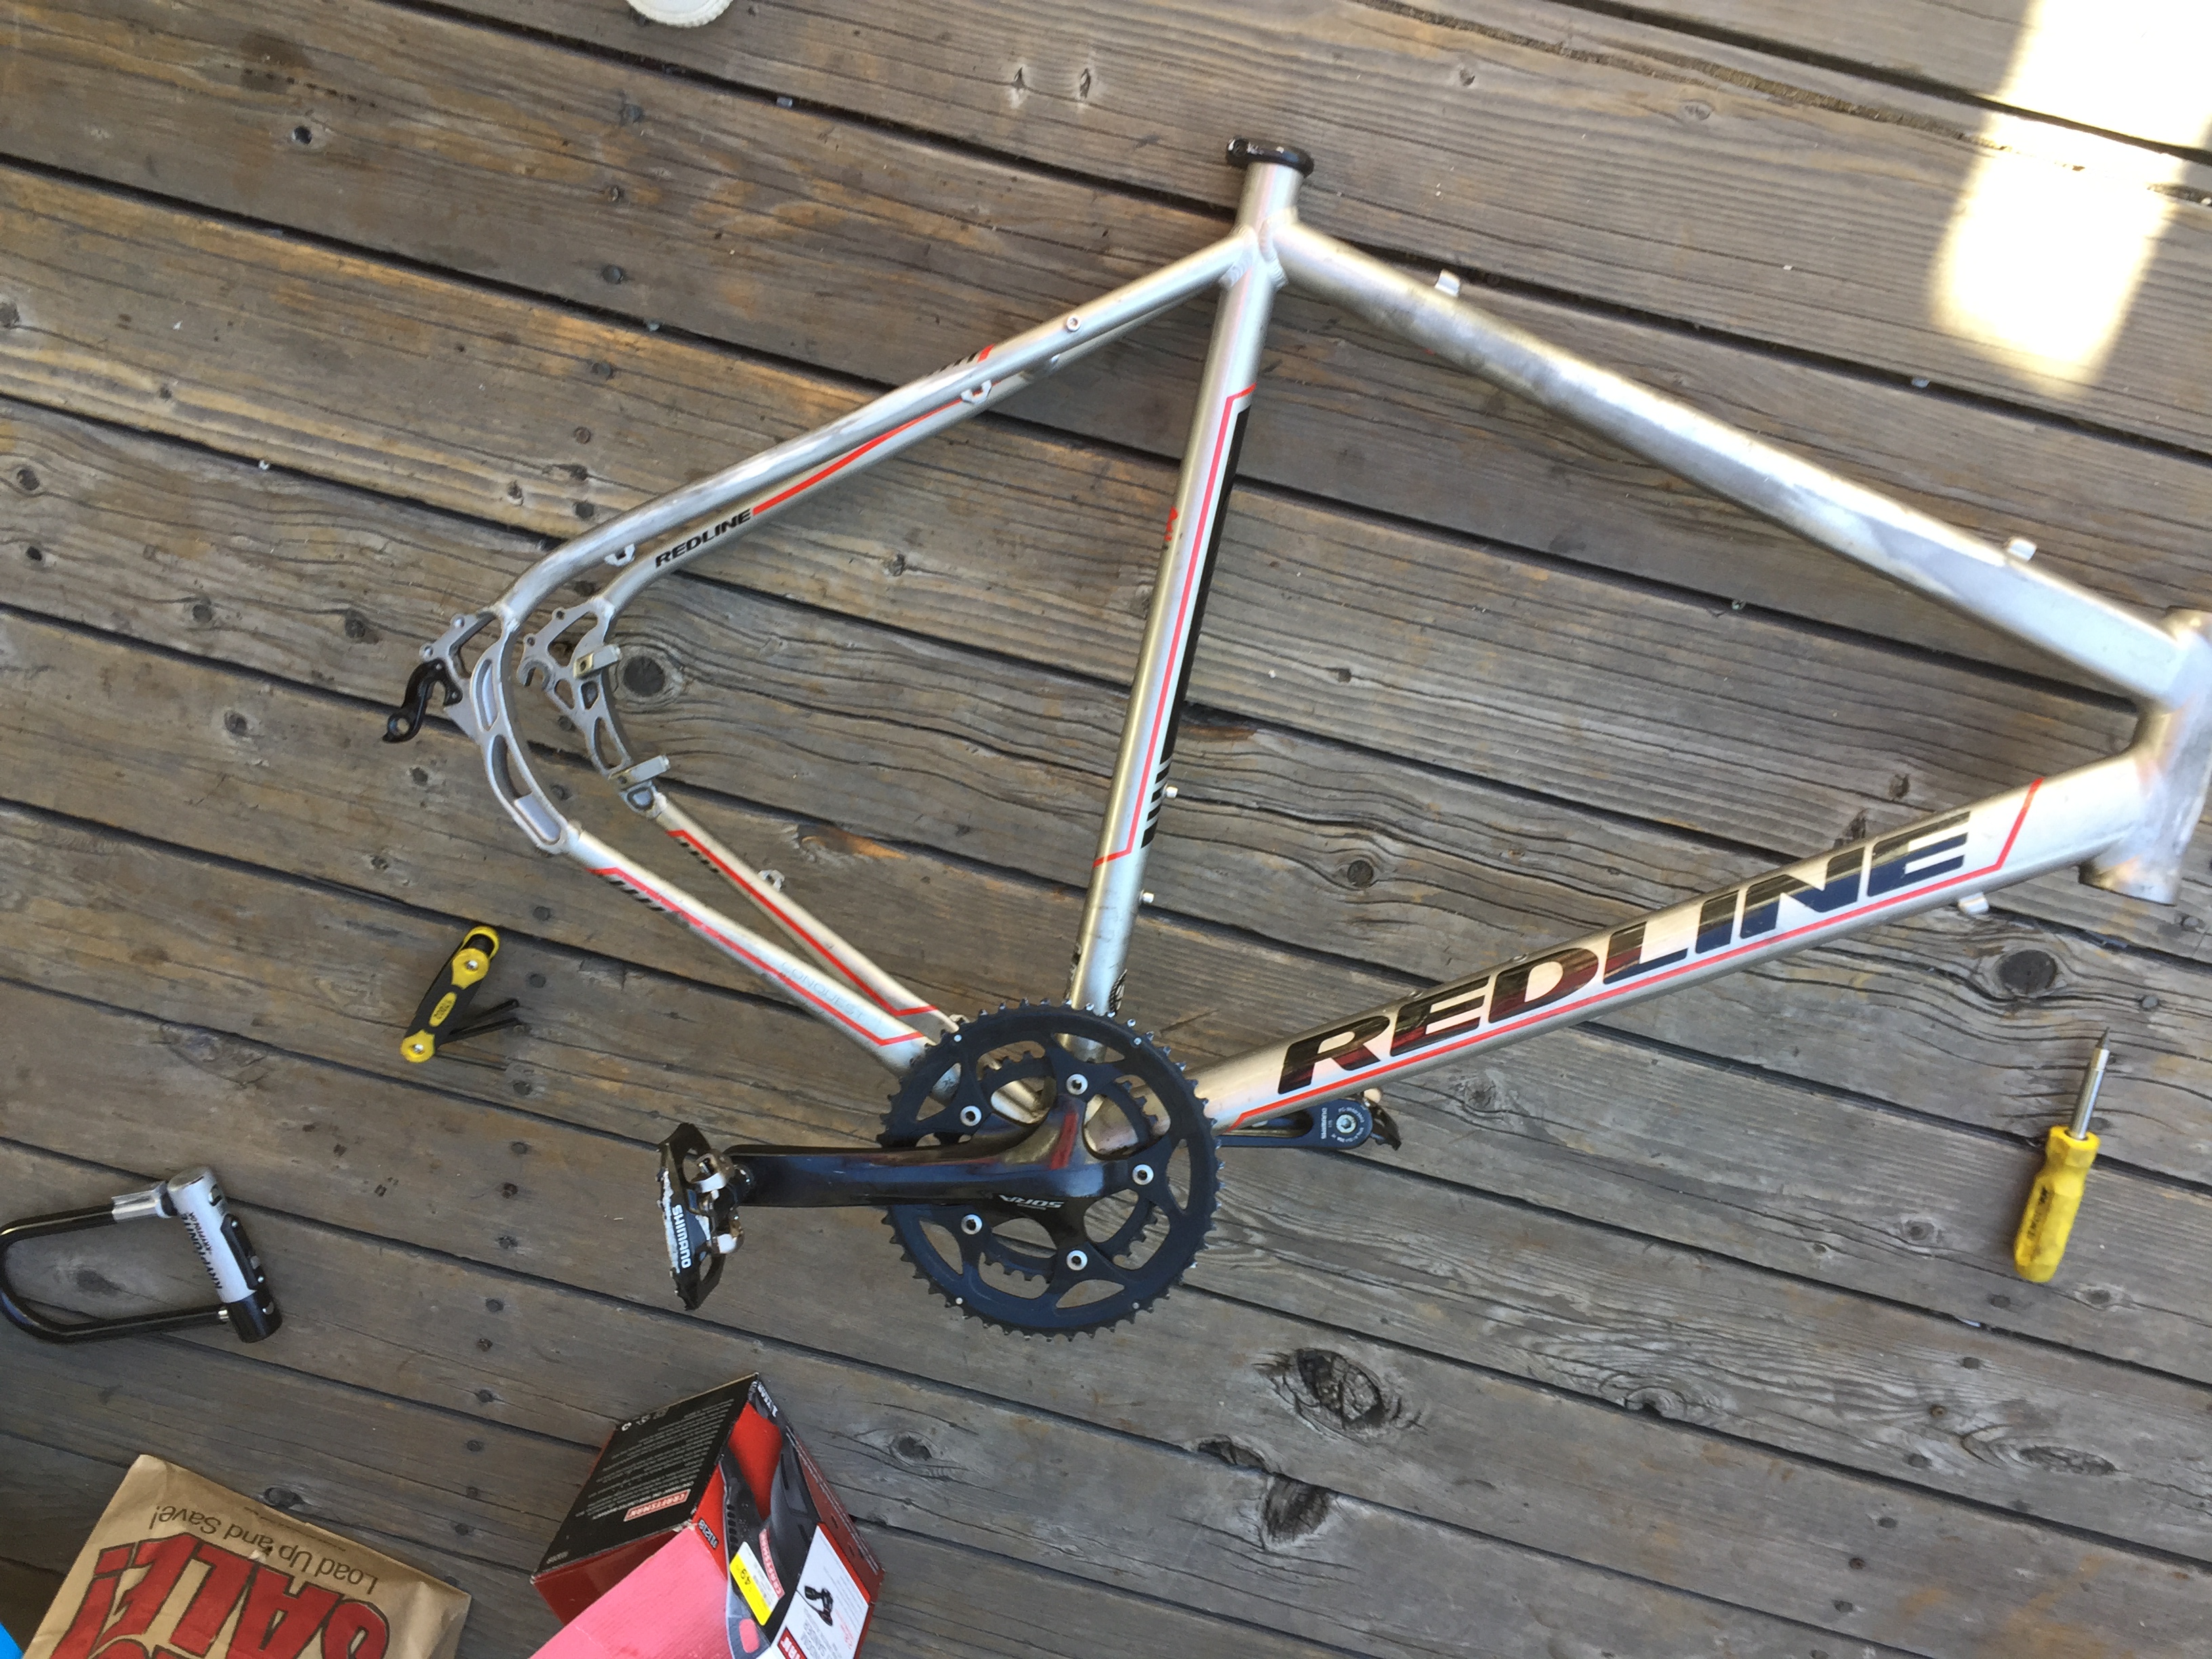
For a long time, I felt my bicycle was incomplete; while I liked using it, it
was not exactly a “dream bike” for me. One main reason for this was the
excessive REDLINE branding, which included, understandably, lots of red lines
that ran over the bicycle’s body. It was visually busy and made the bike less
attractive (to me).
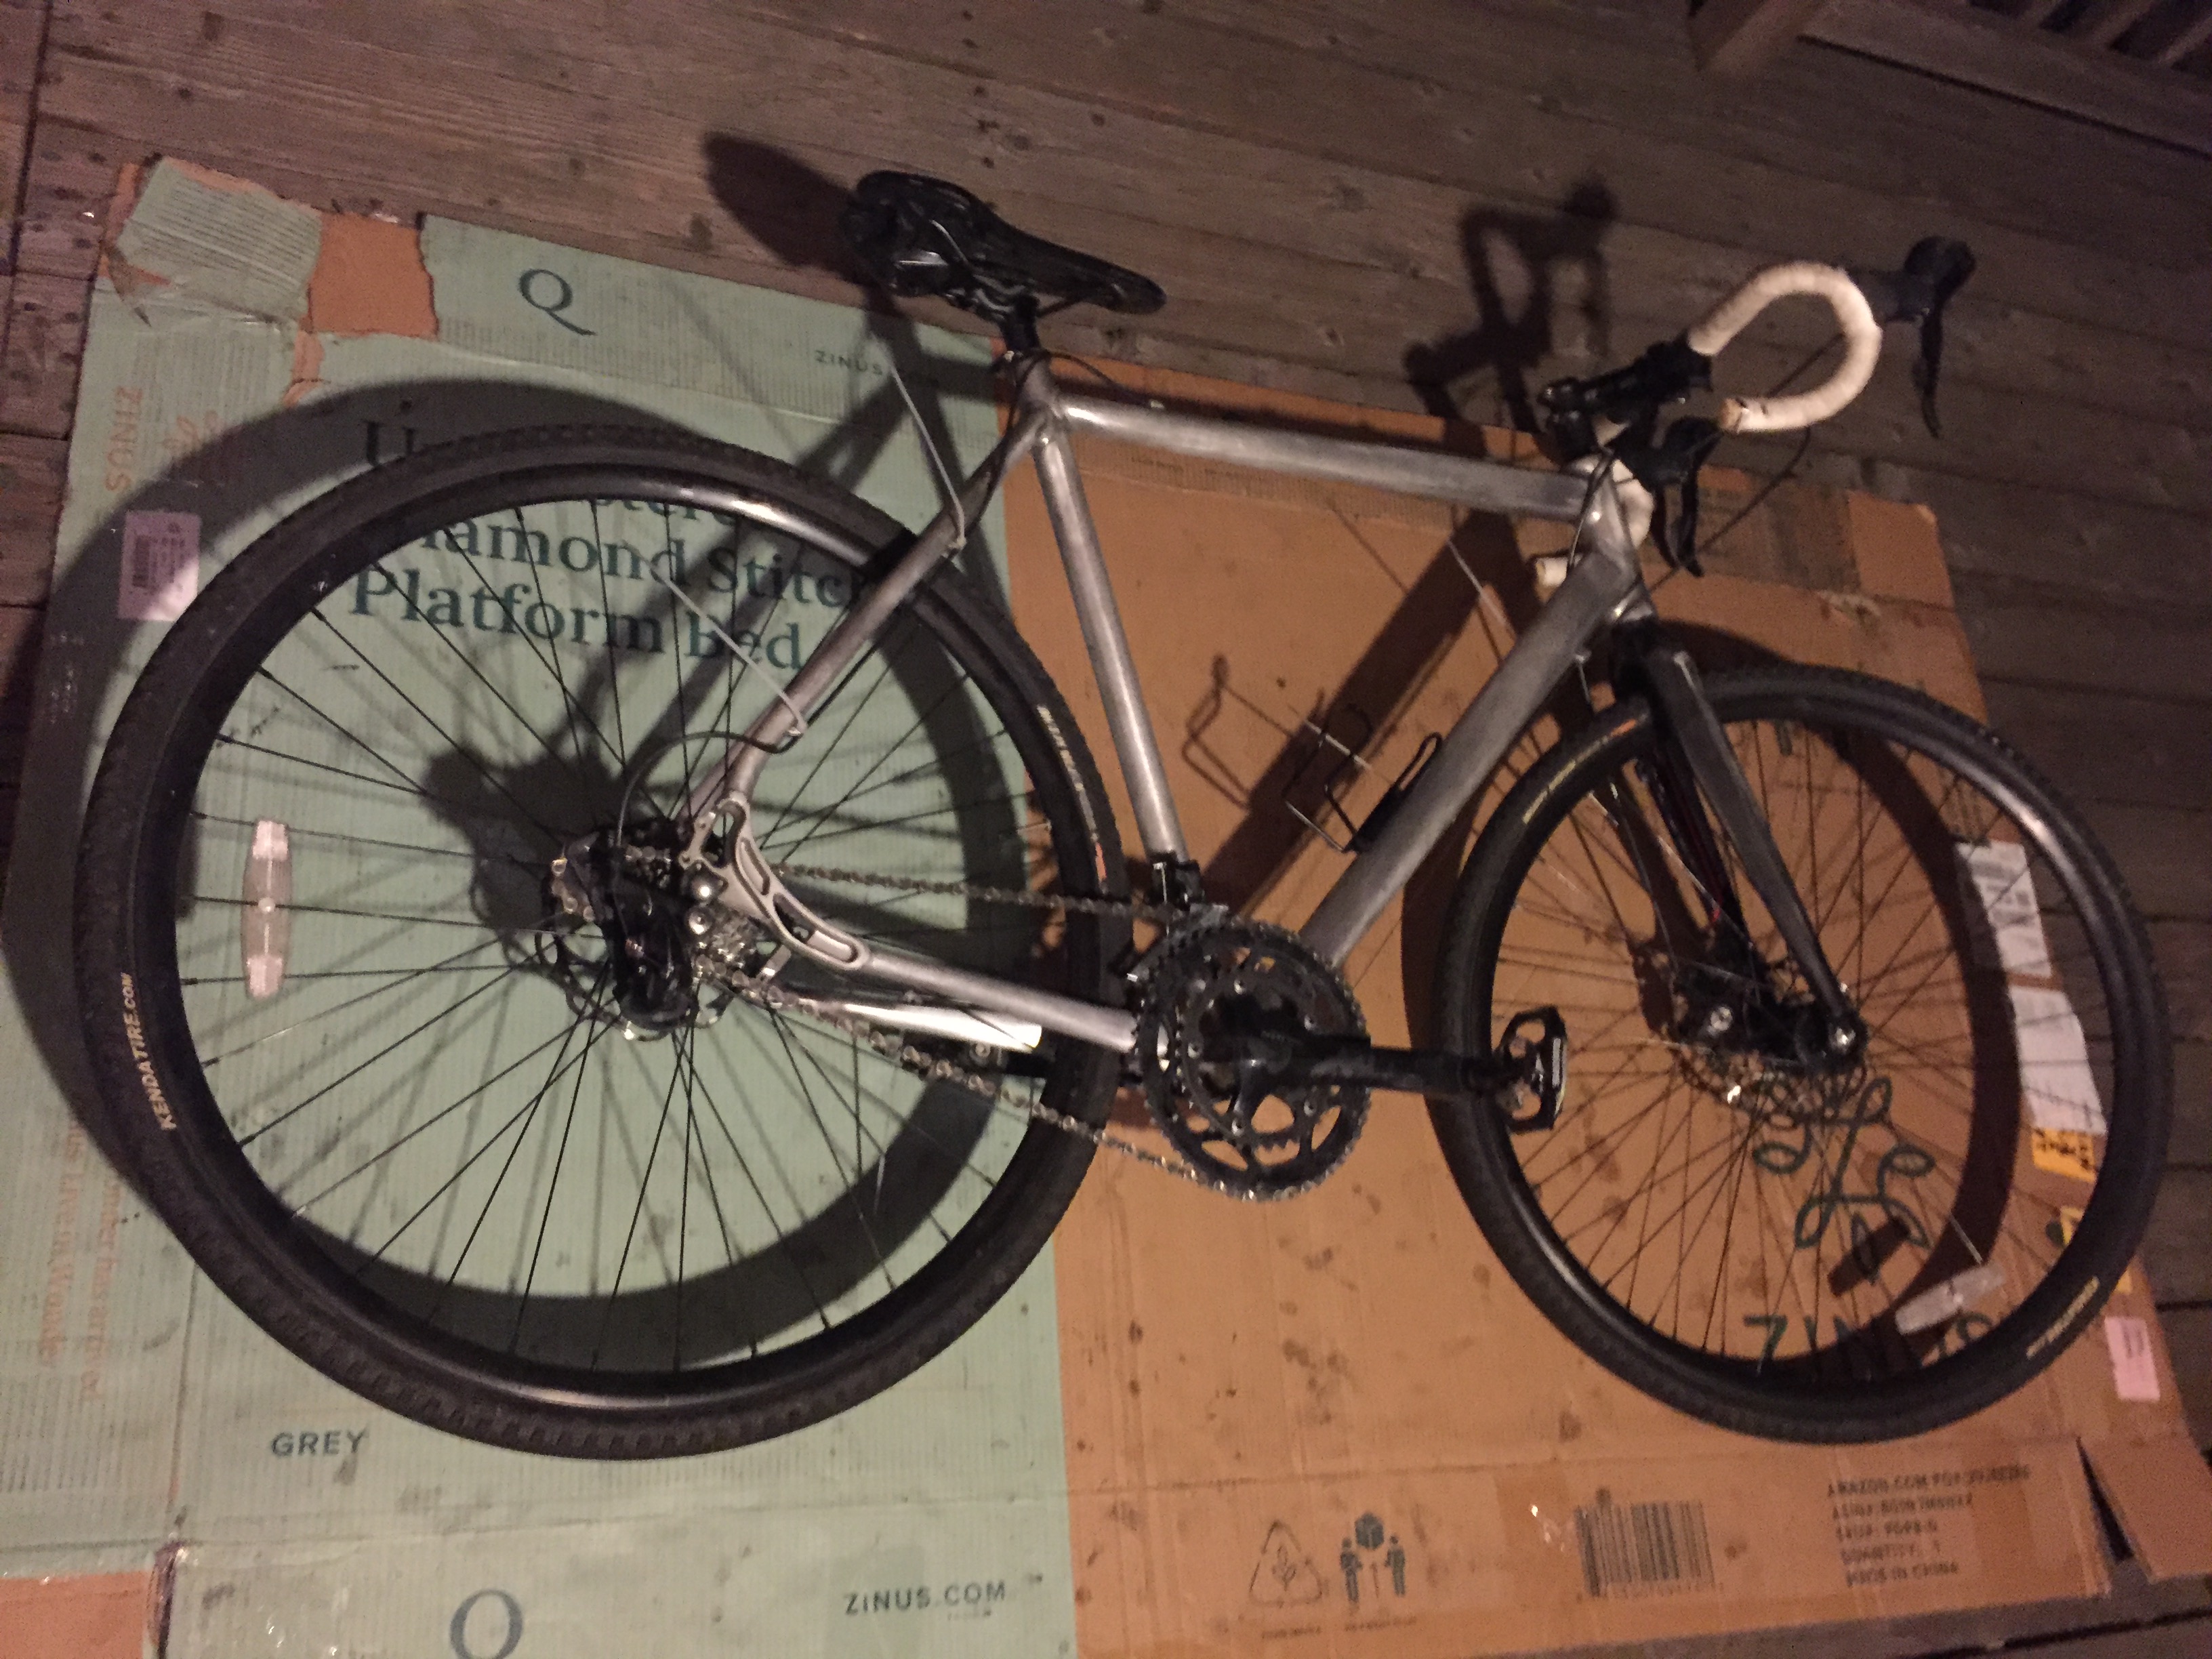
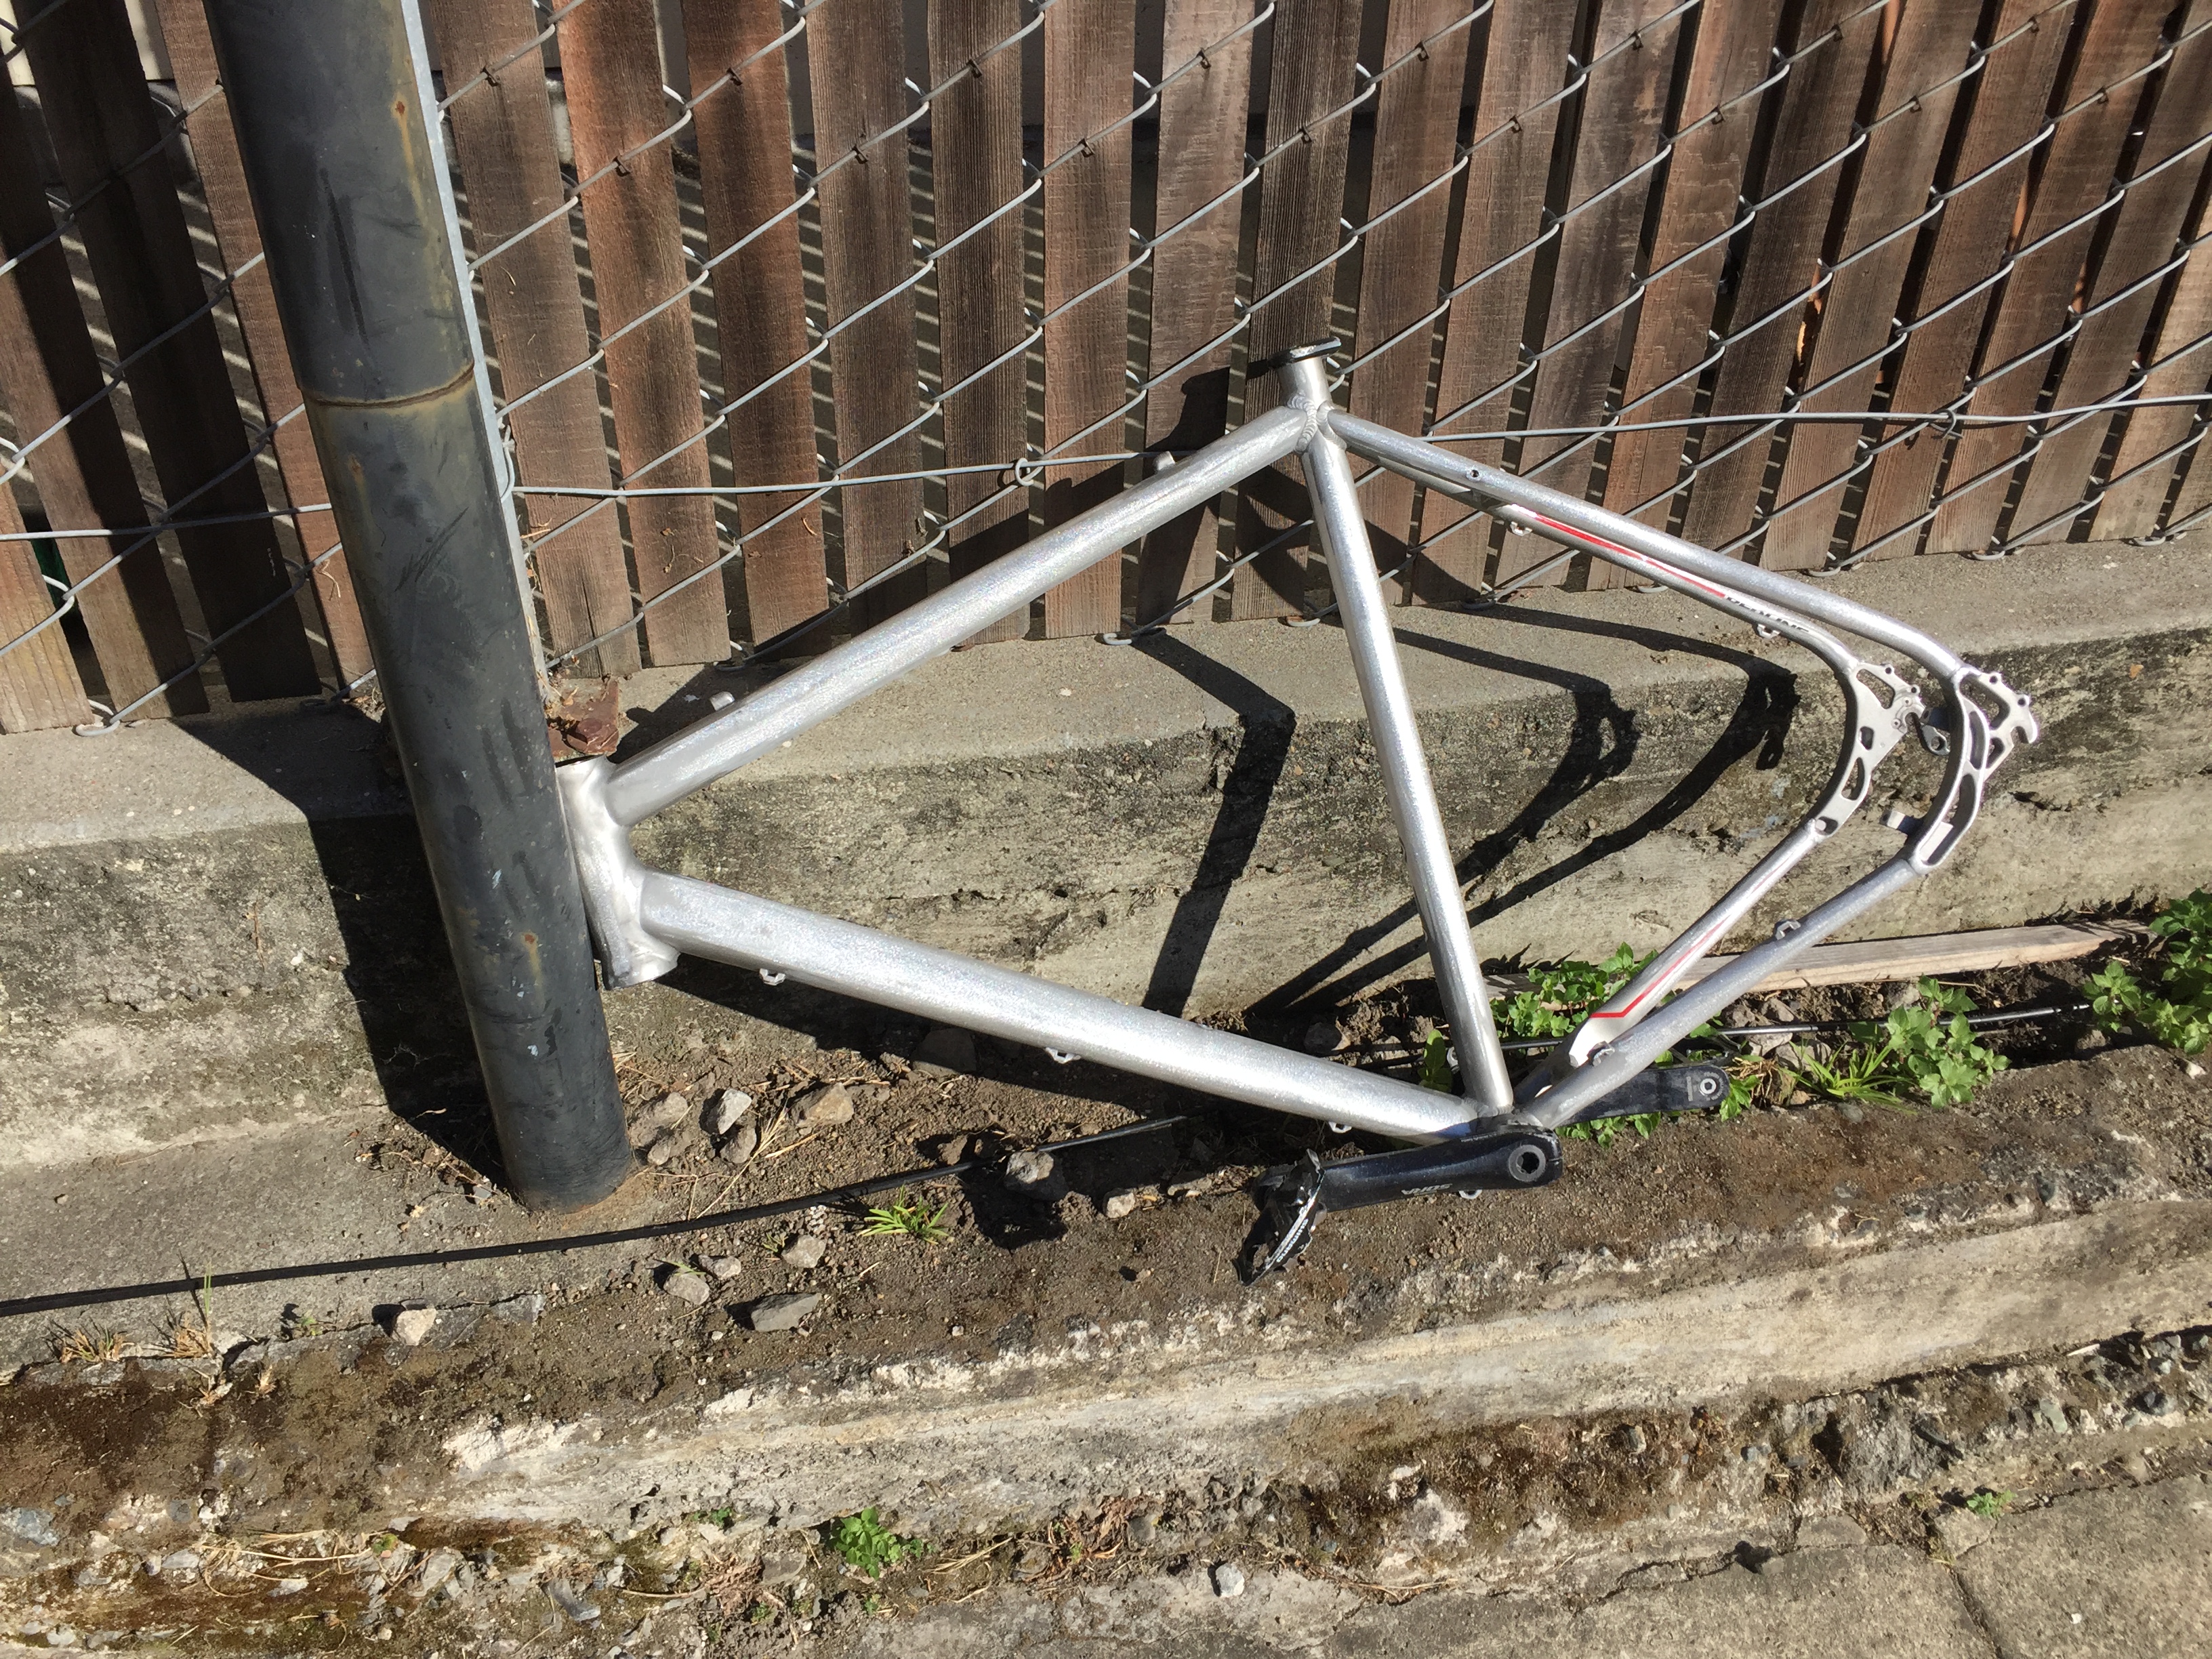
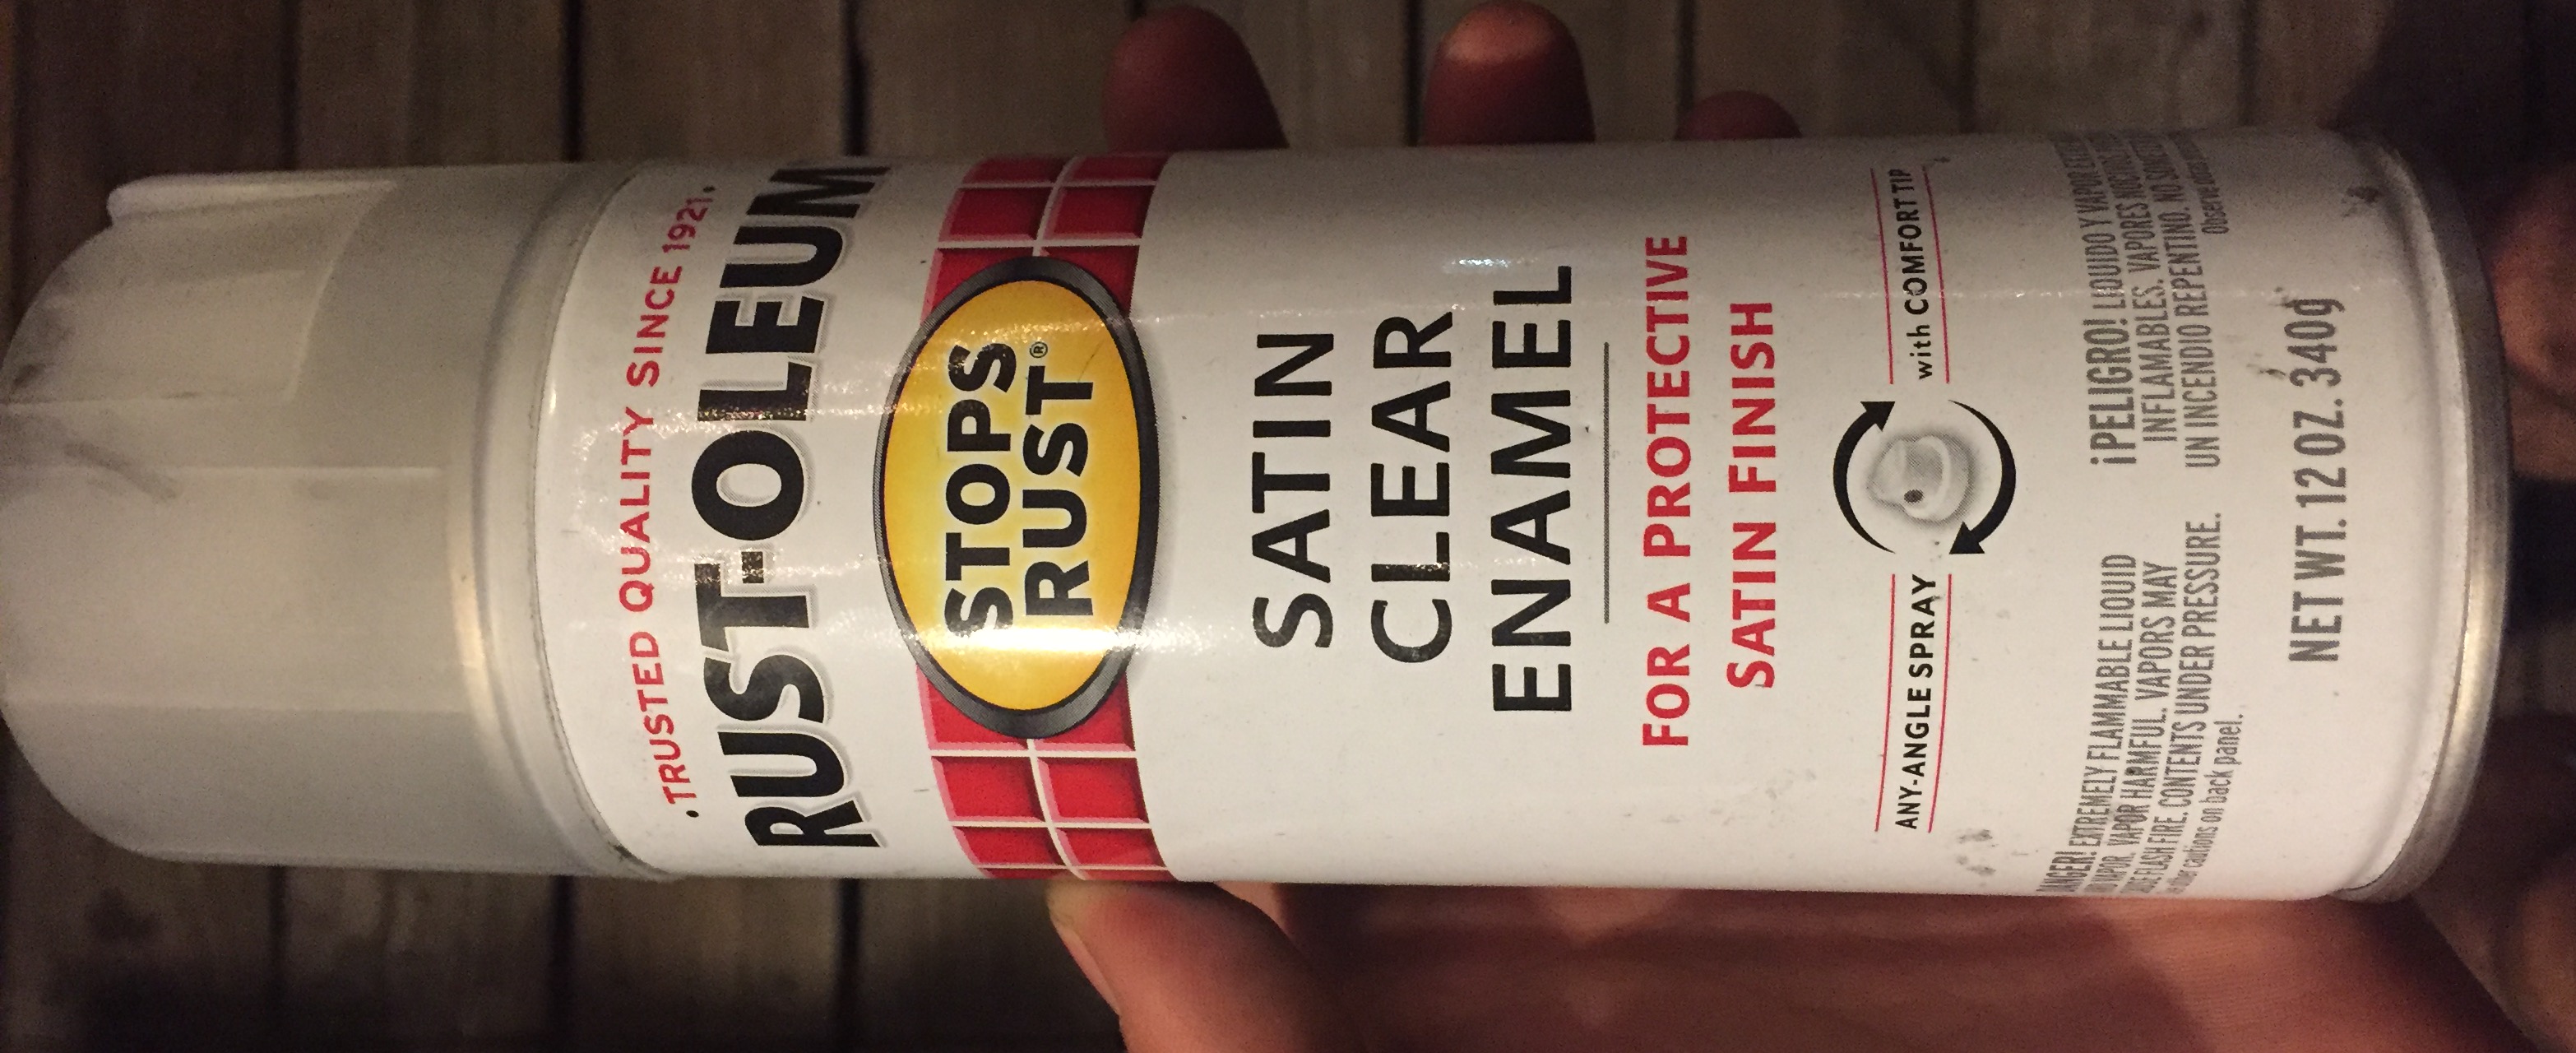
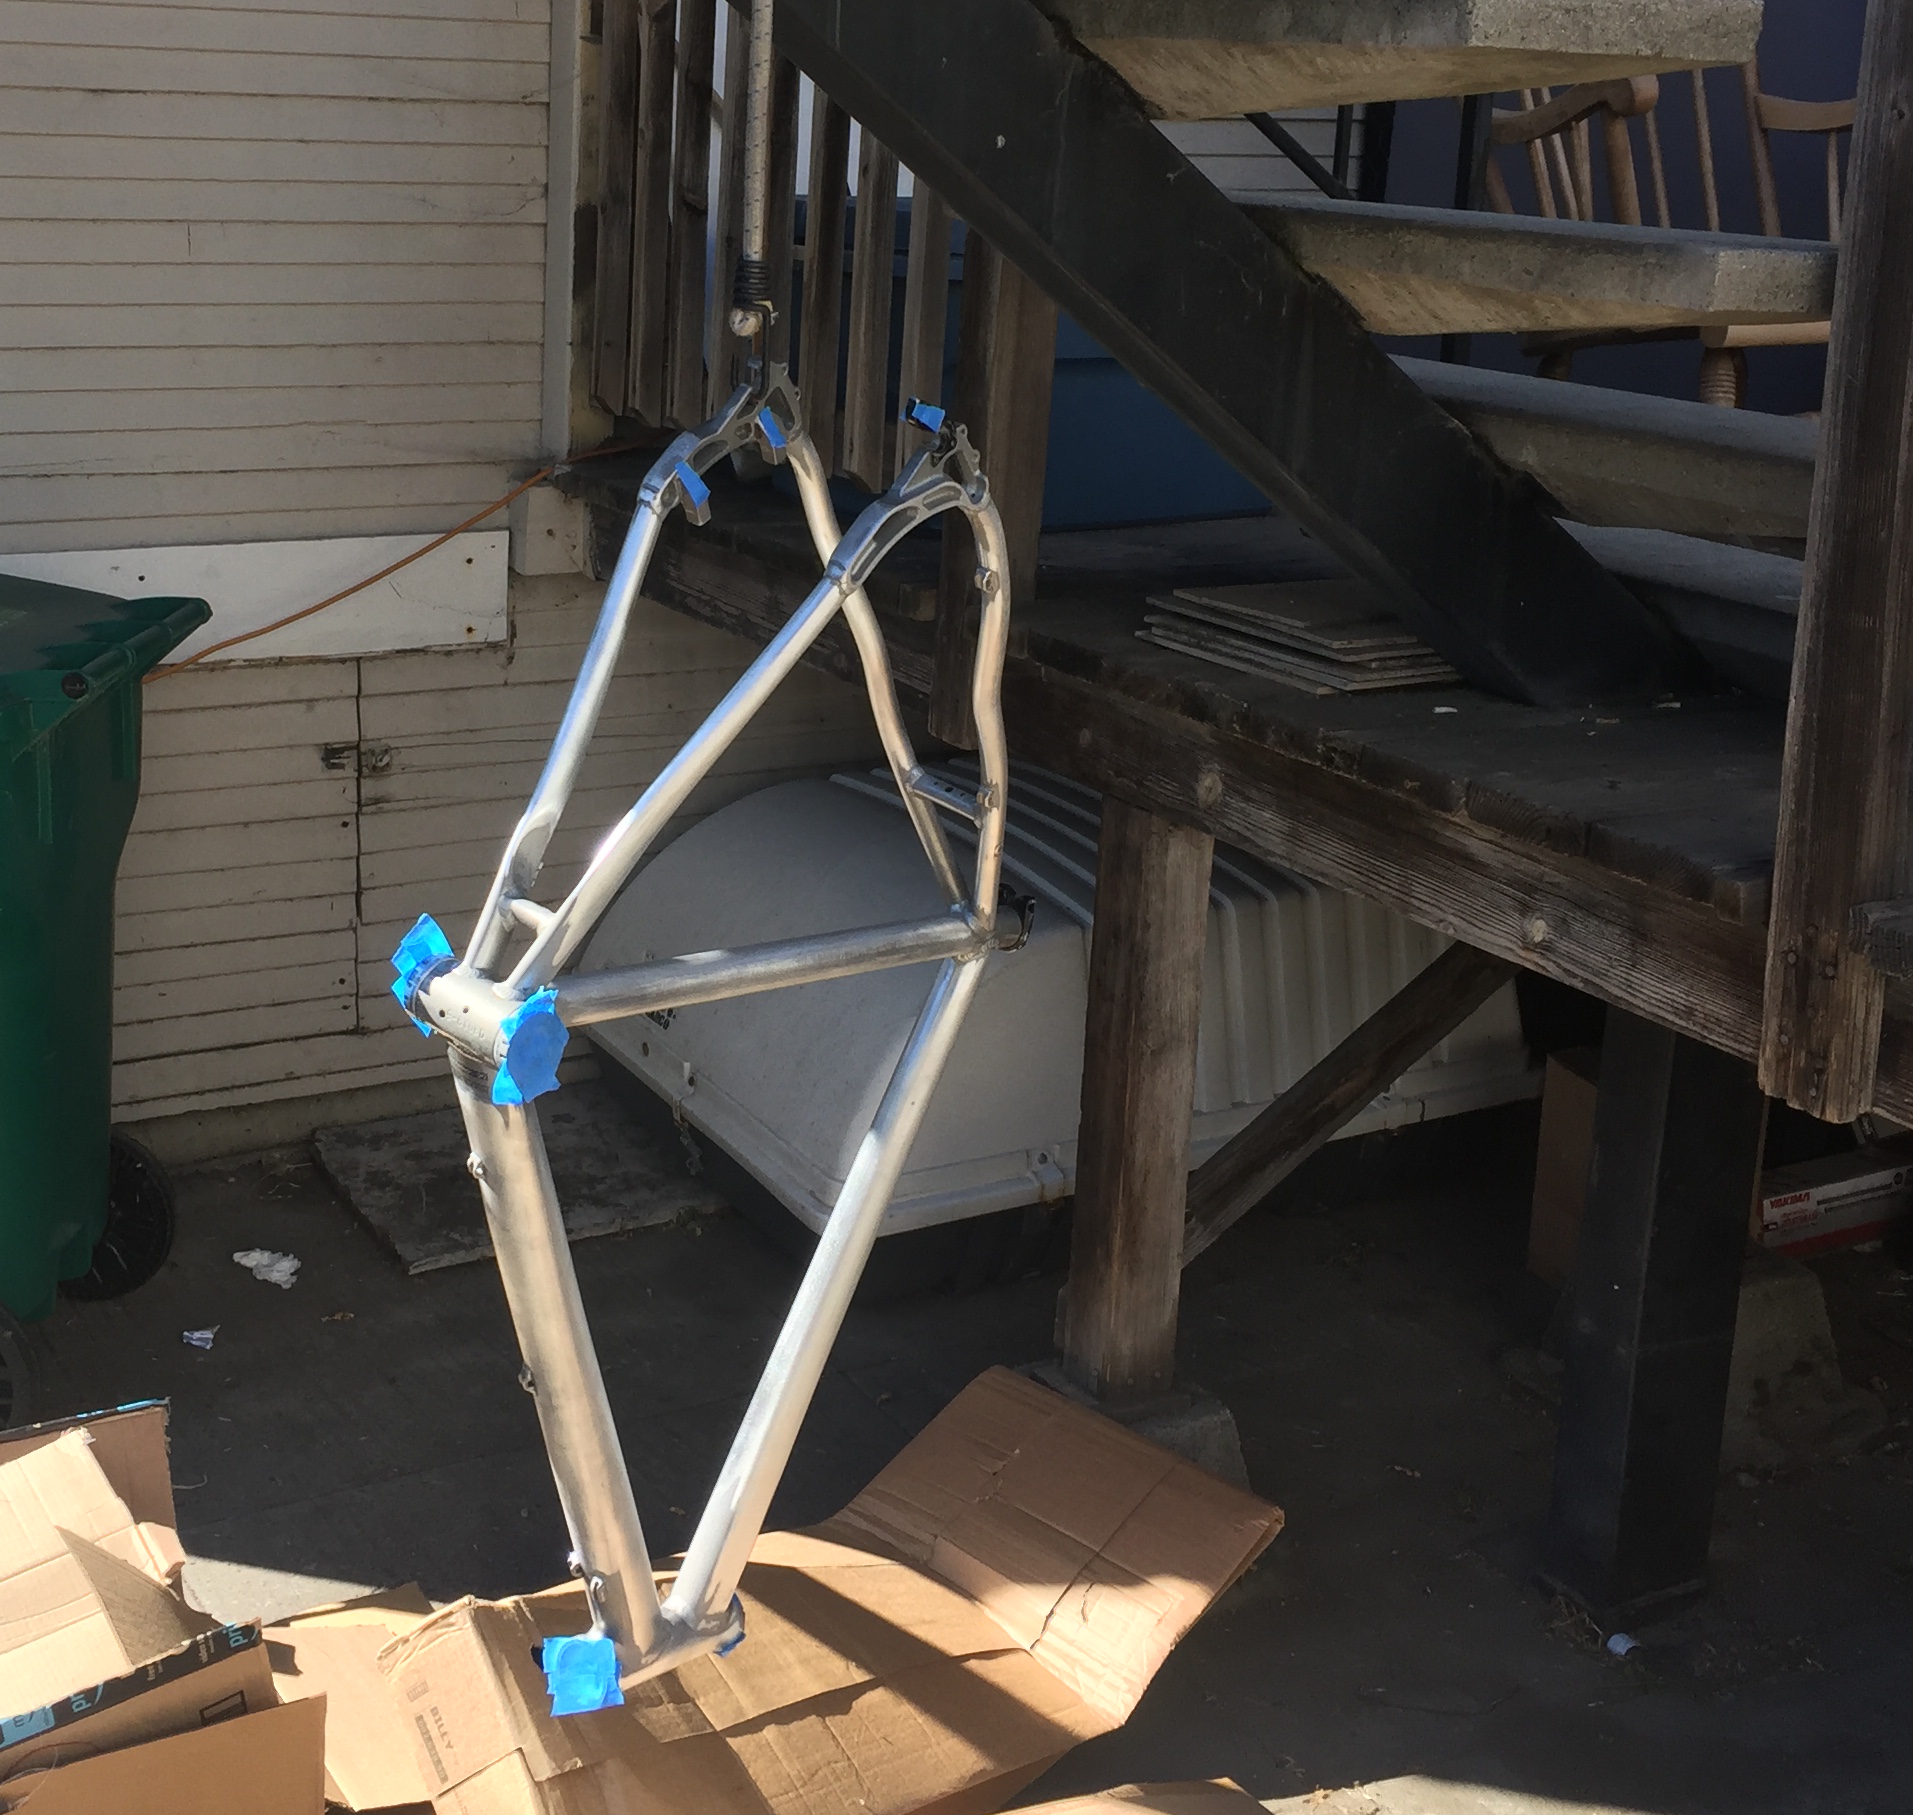
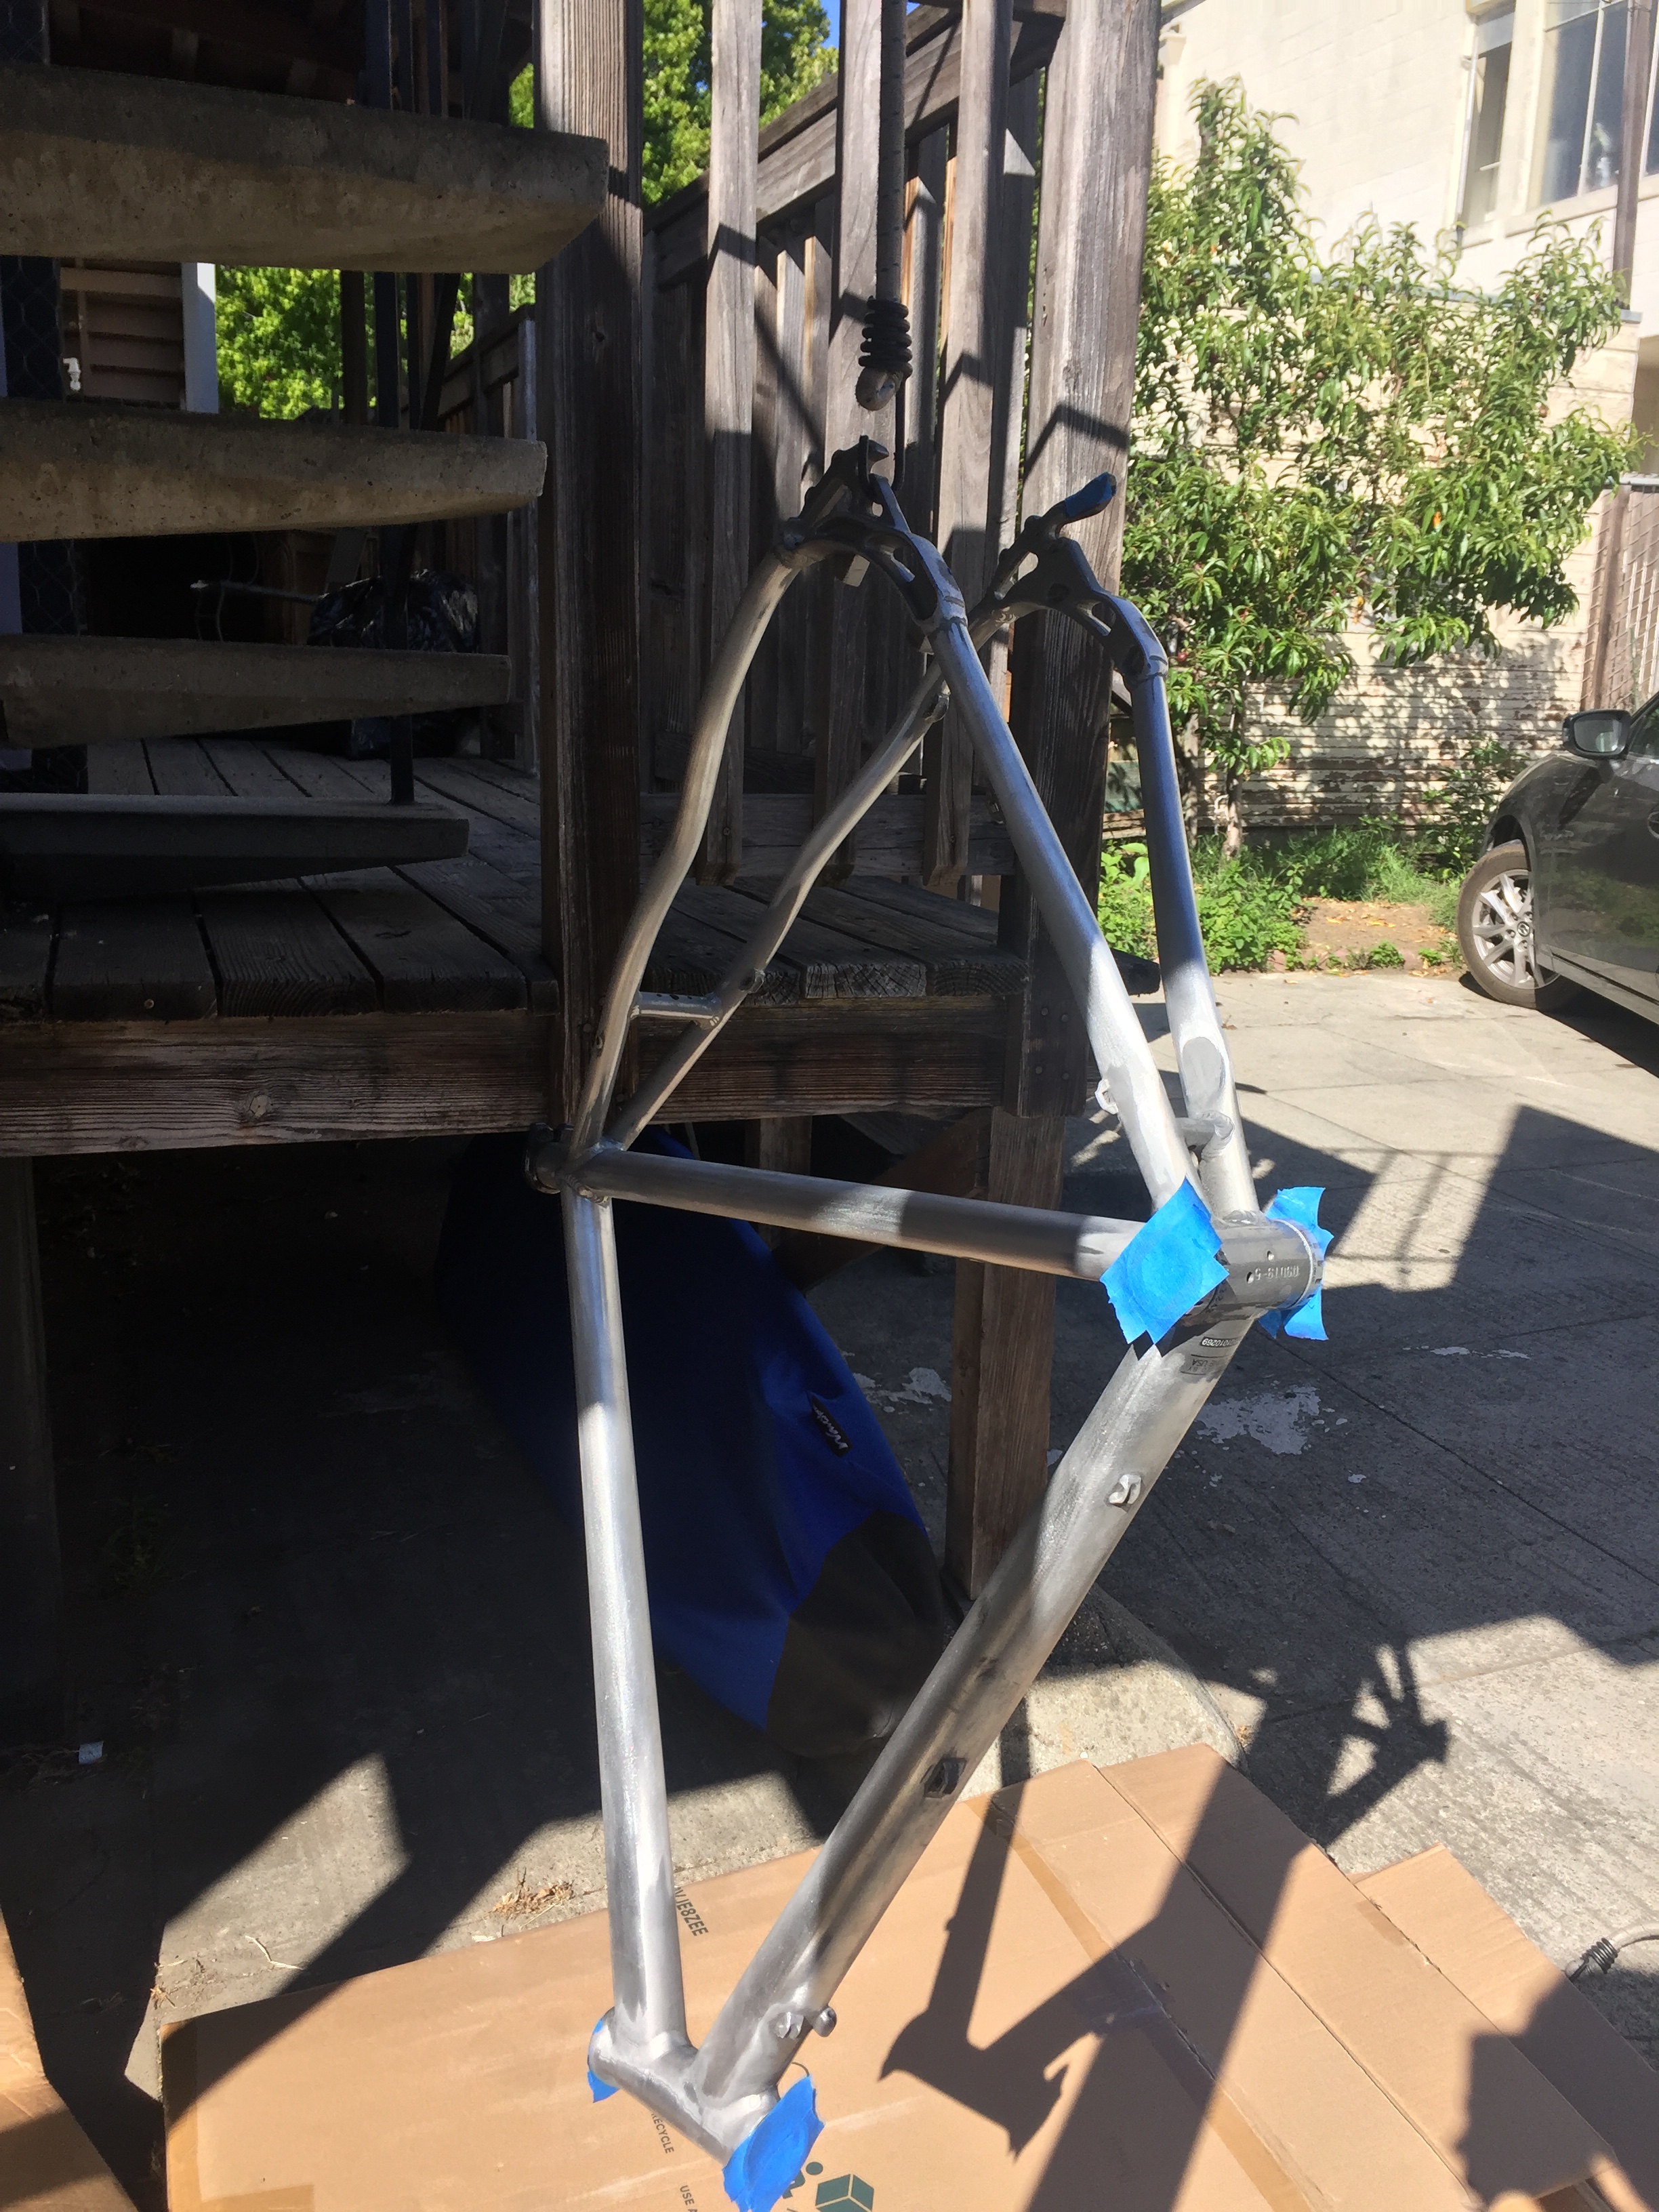
To fix this, I sanded down and applied a clear coat to my bike, highlighting the aluminum frame underneath it. I also painted the fork with a “hammered black” spray. What I thought would be a somewhat straightforward task turned out to be time and labor intensive, with the preparation for actually applying the clear-coat being about 95% of the work.
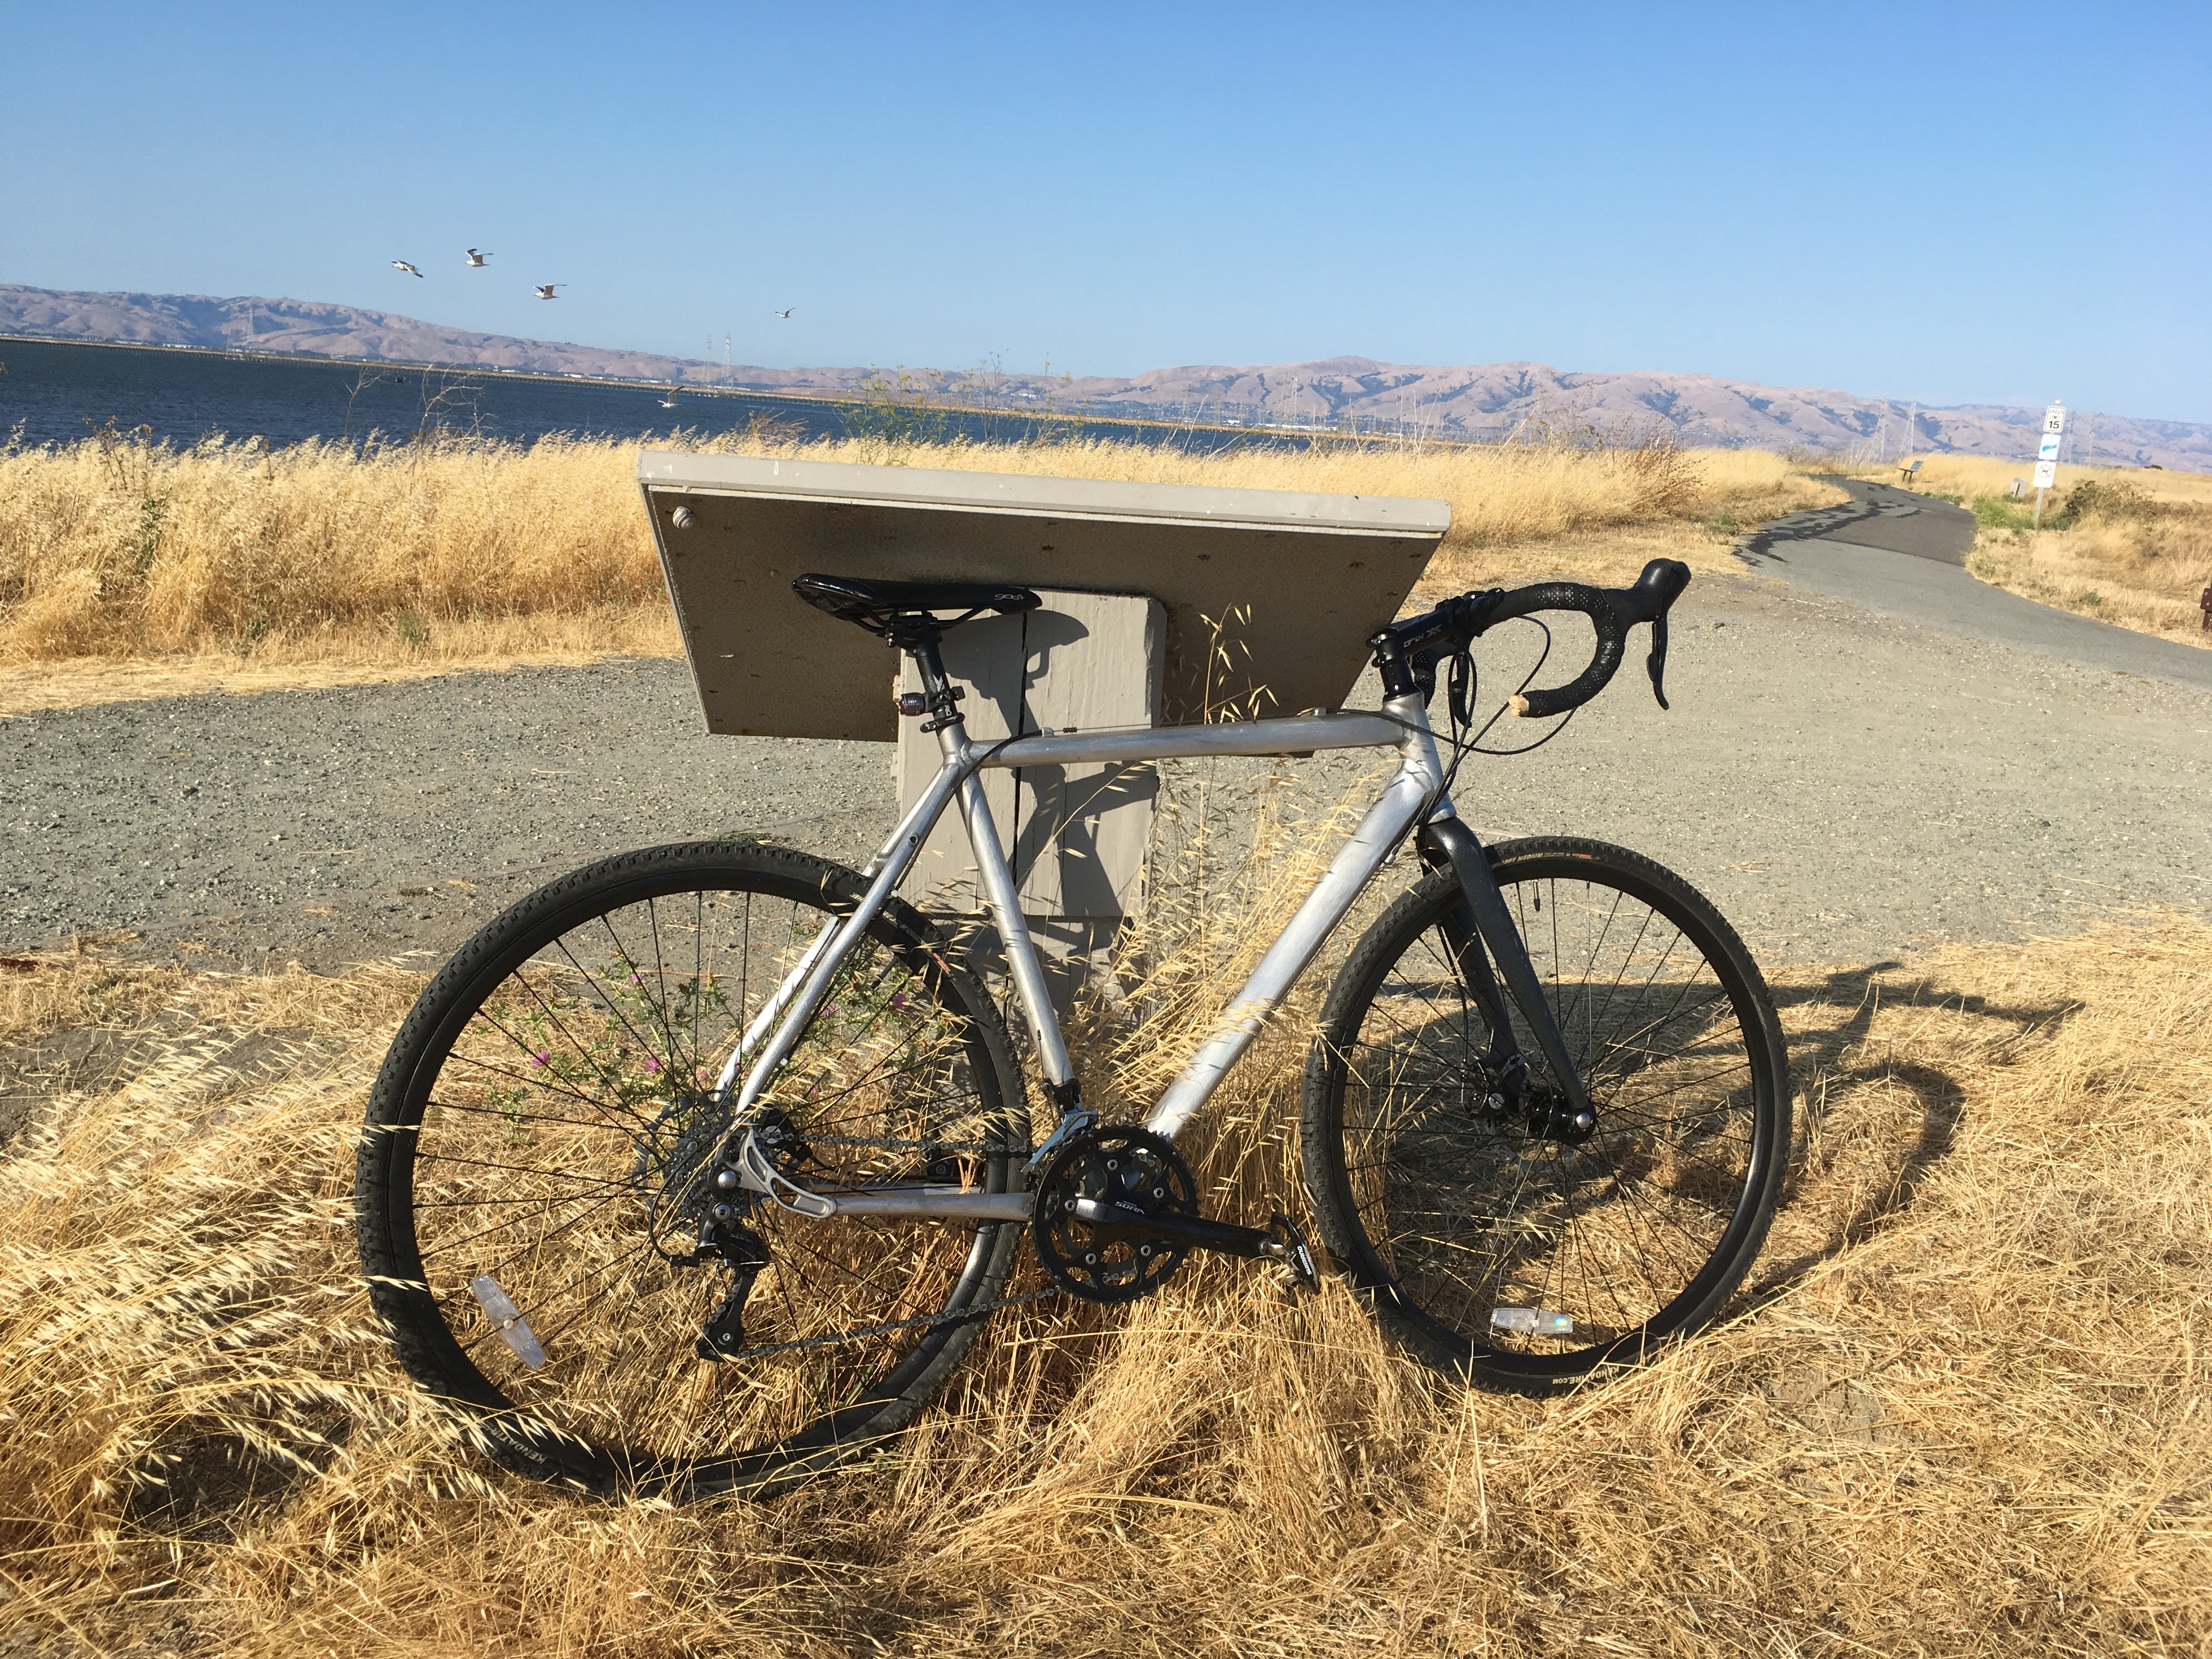
before / after
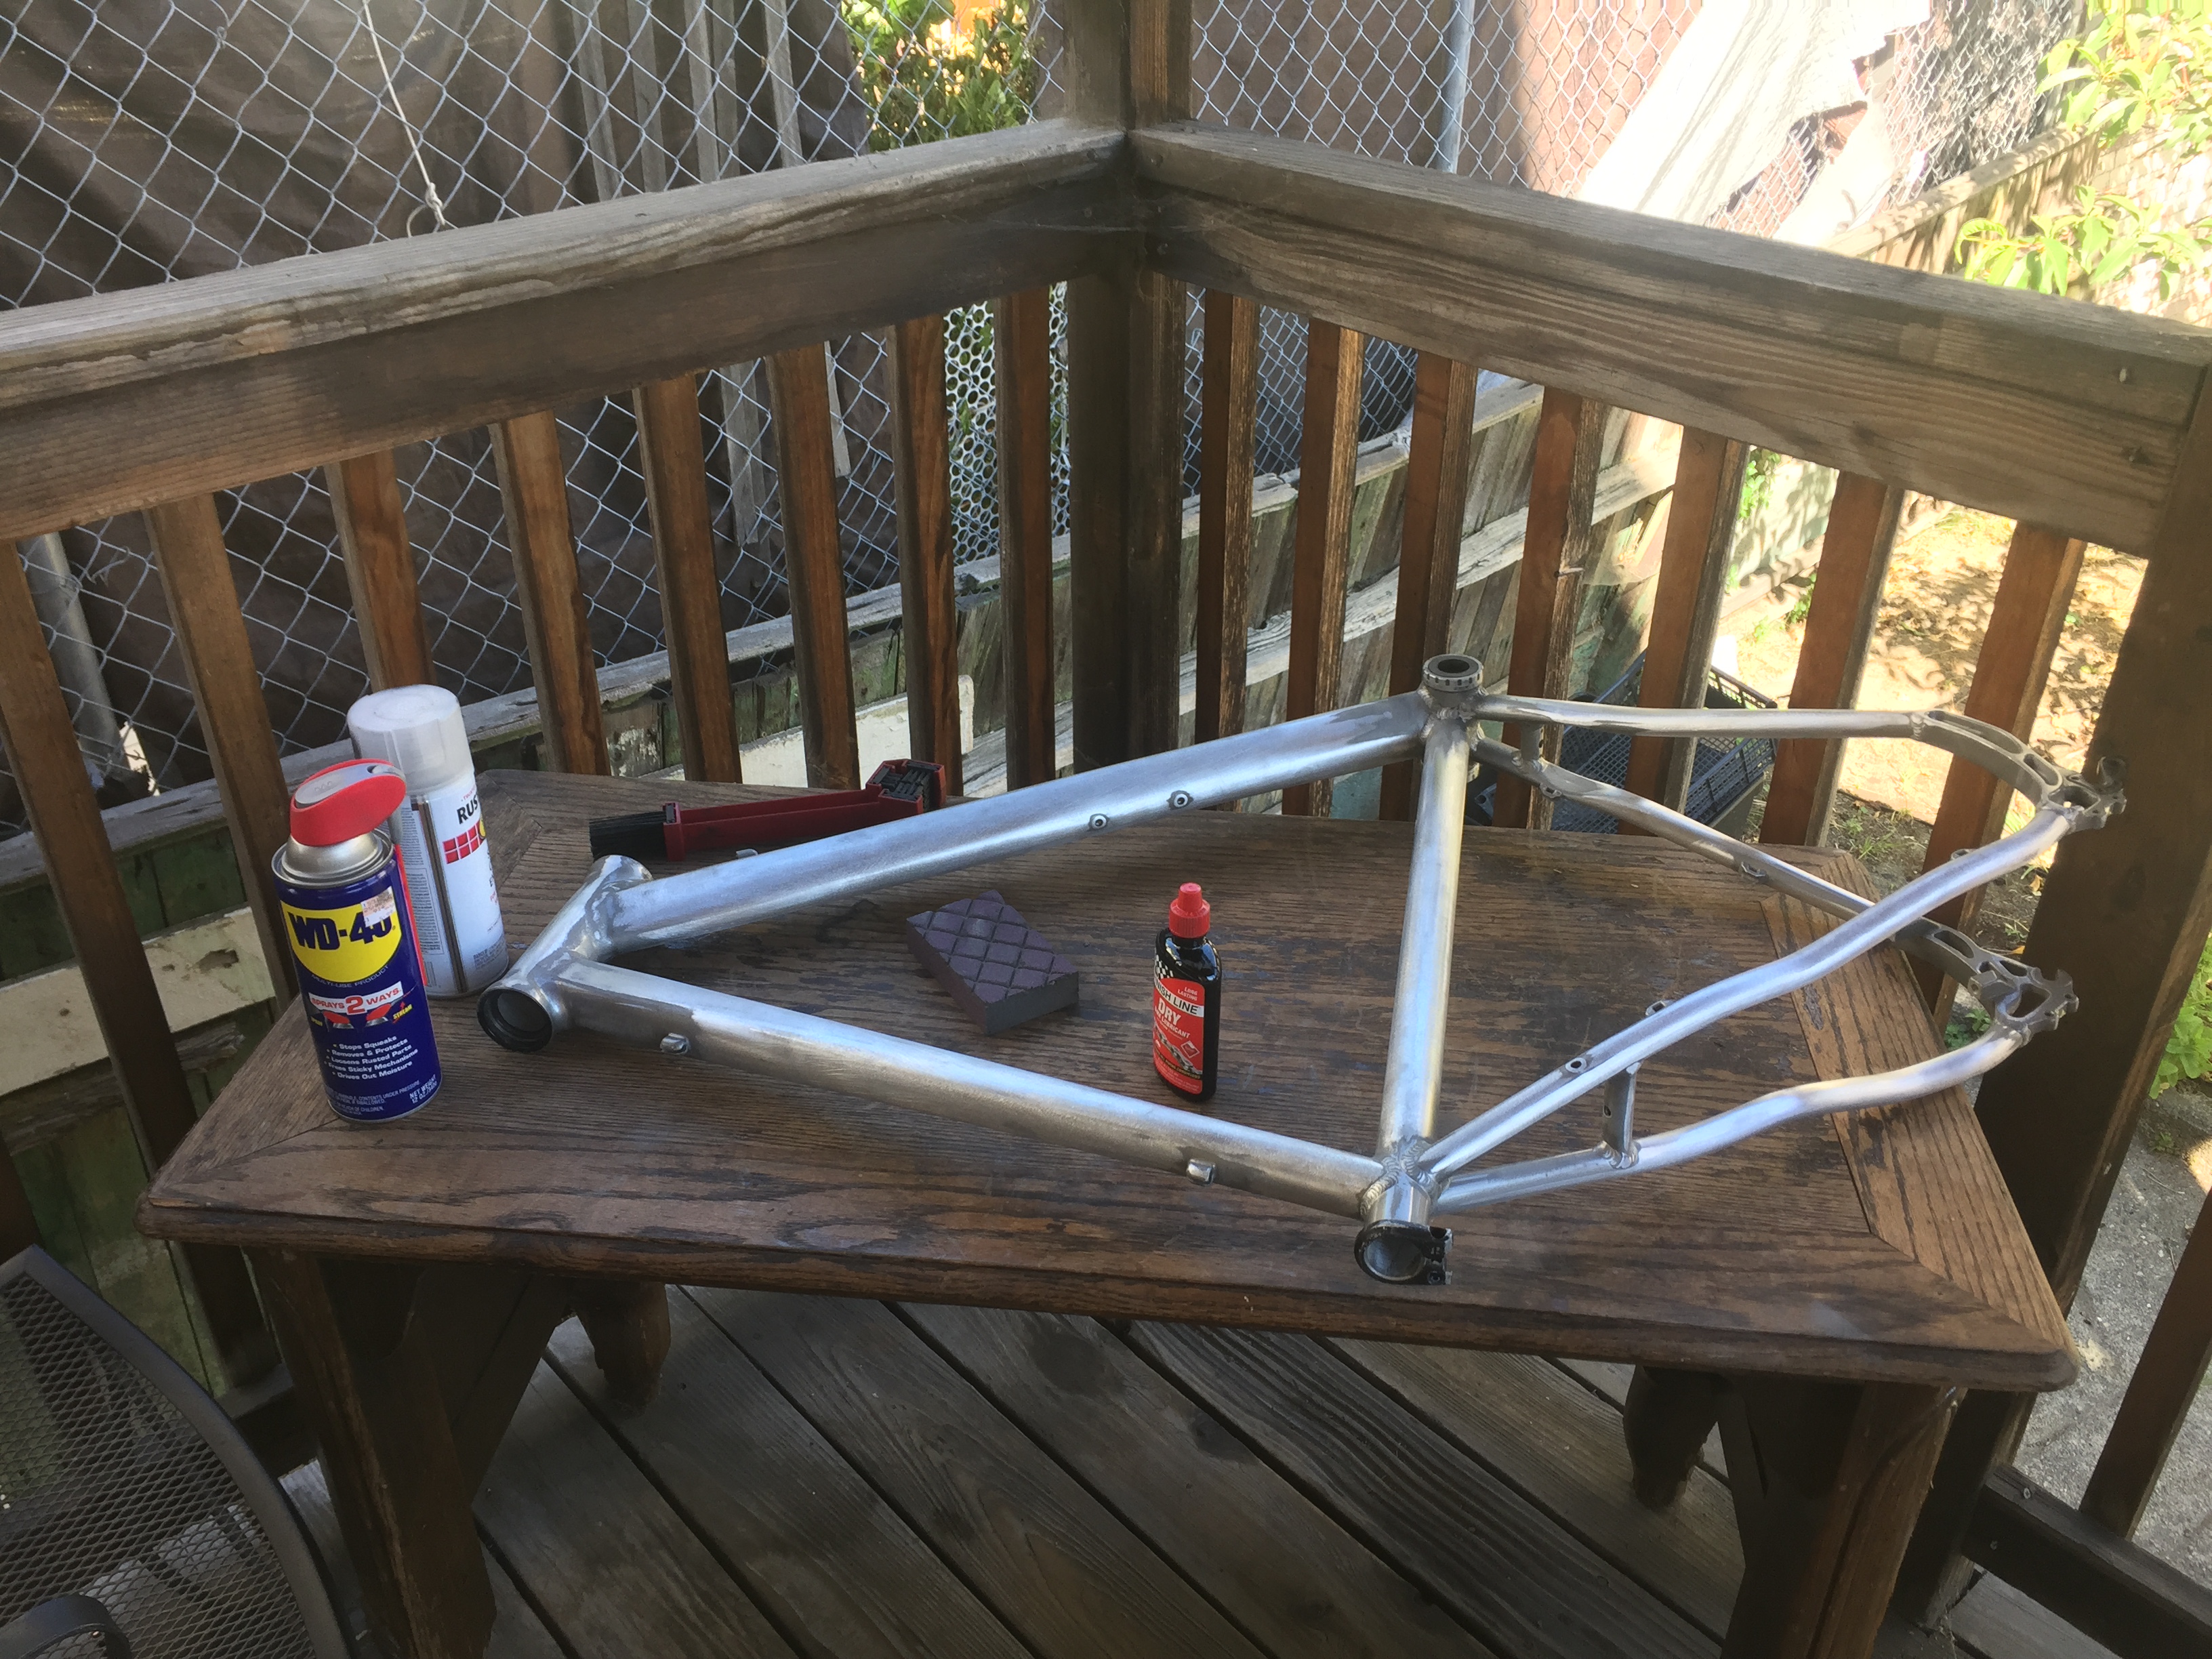
Materials.
- bicycle
- gloves
- mm hex toolset
- electric random orbital sander
- spray paint (clear coat and black hammered)
- various sandpapers
- both coarse and fine
- rectangular sheets
- sanding sponges
- circle sheets (for electric sander)
- bungee cords
- cardboard
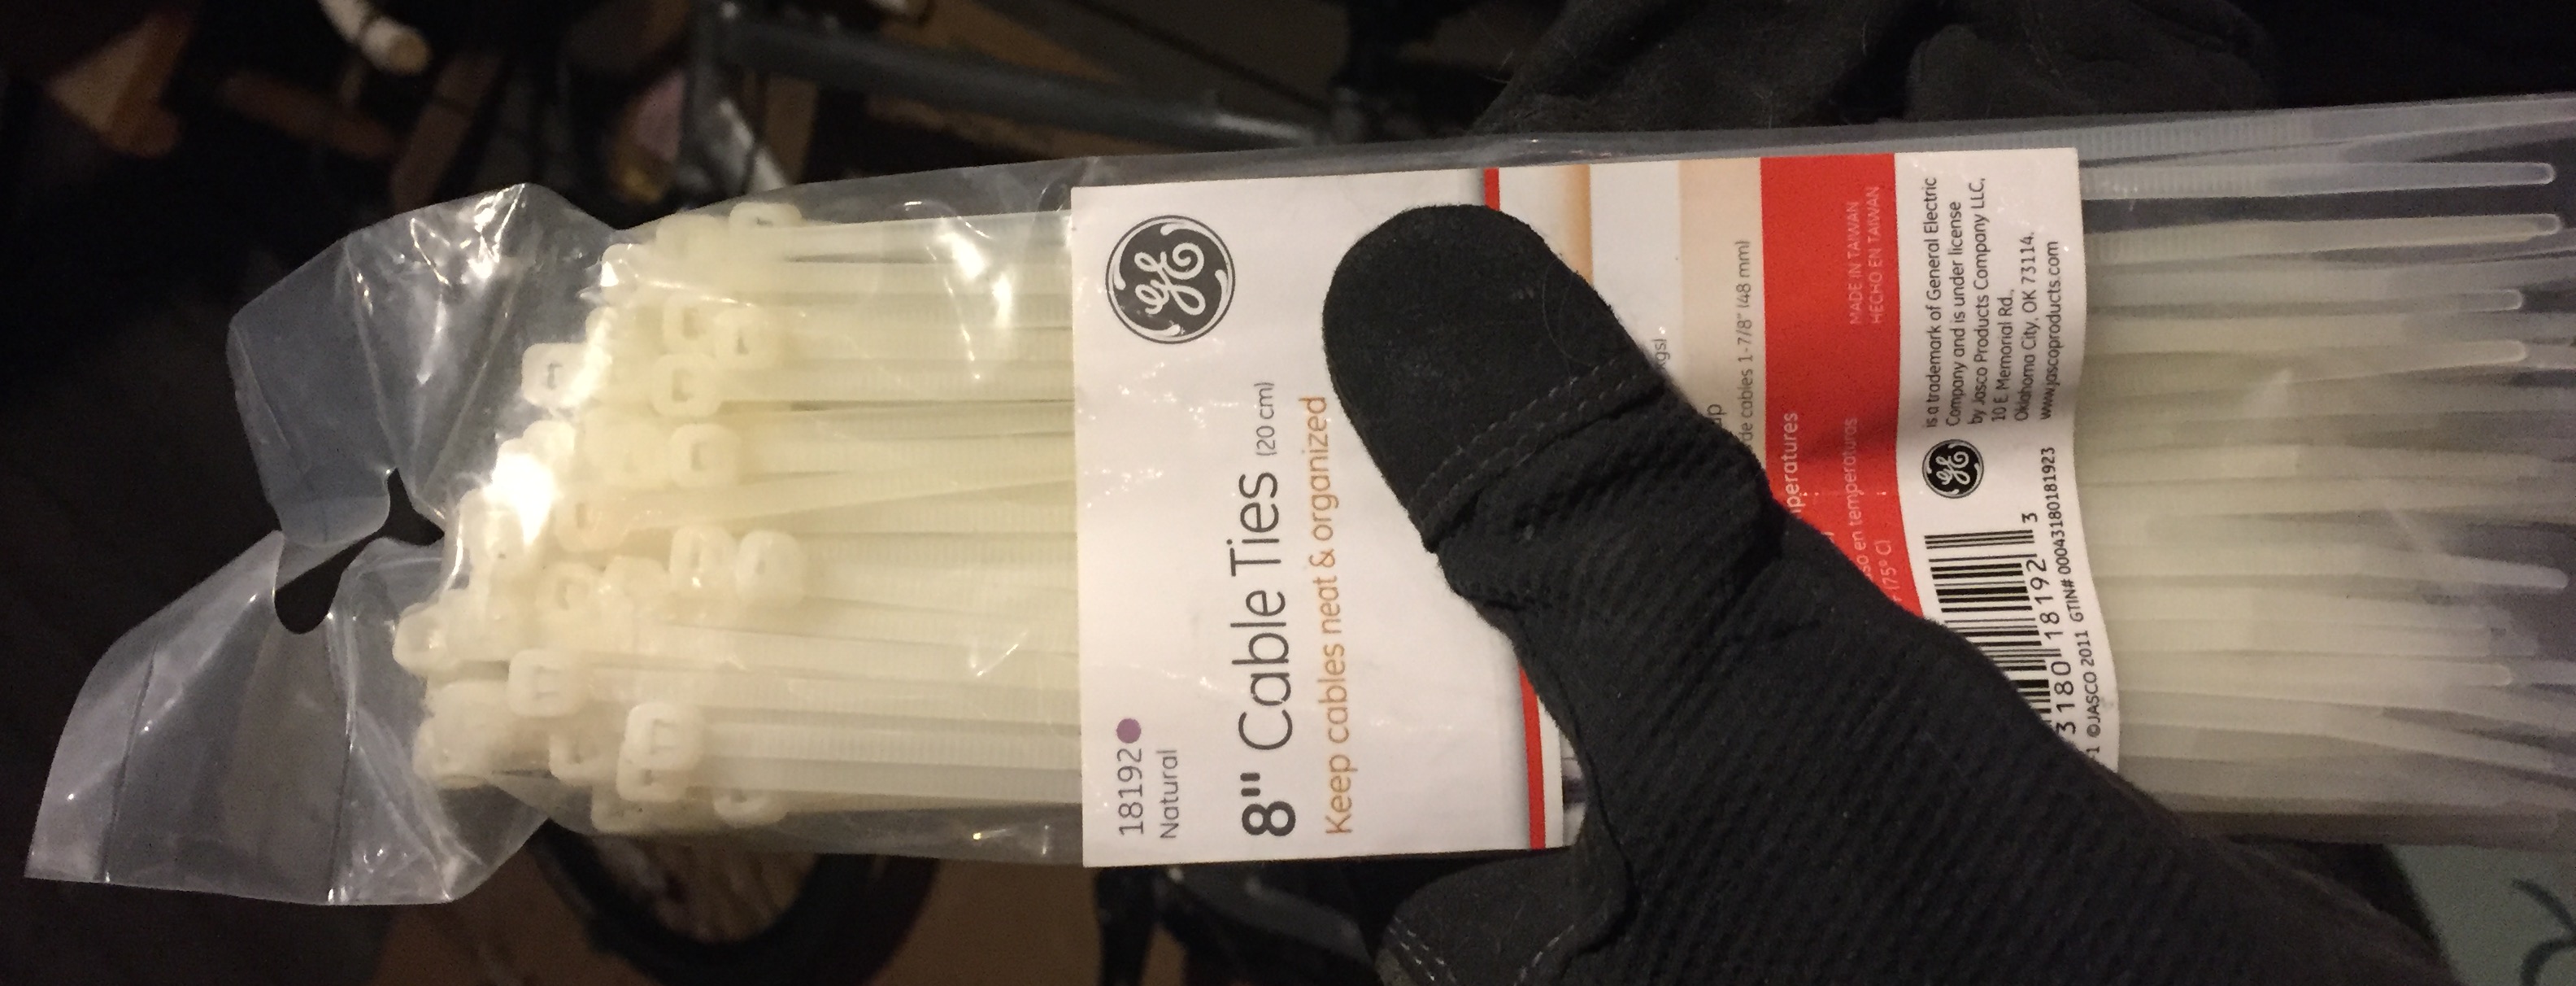
- cable ties
A very rough overview of the steps:
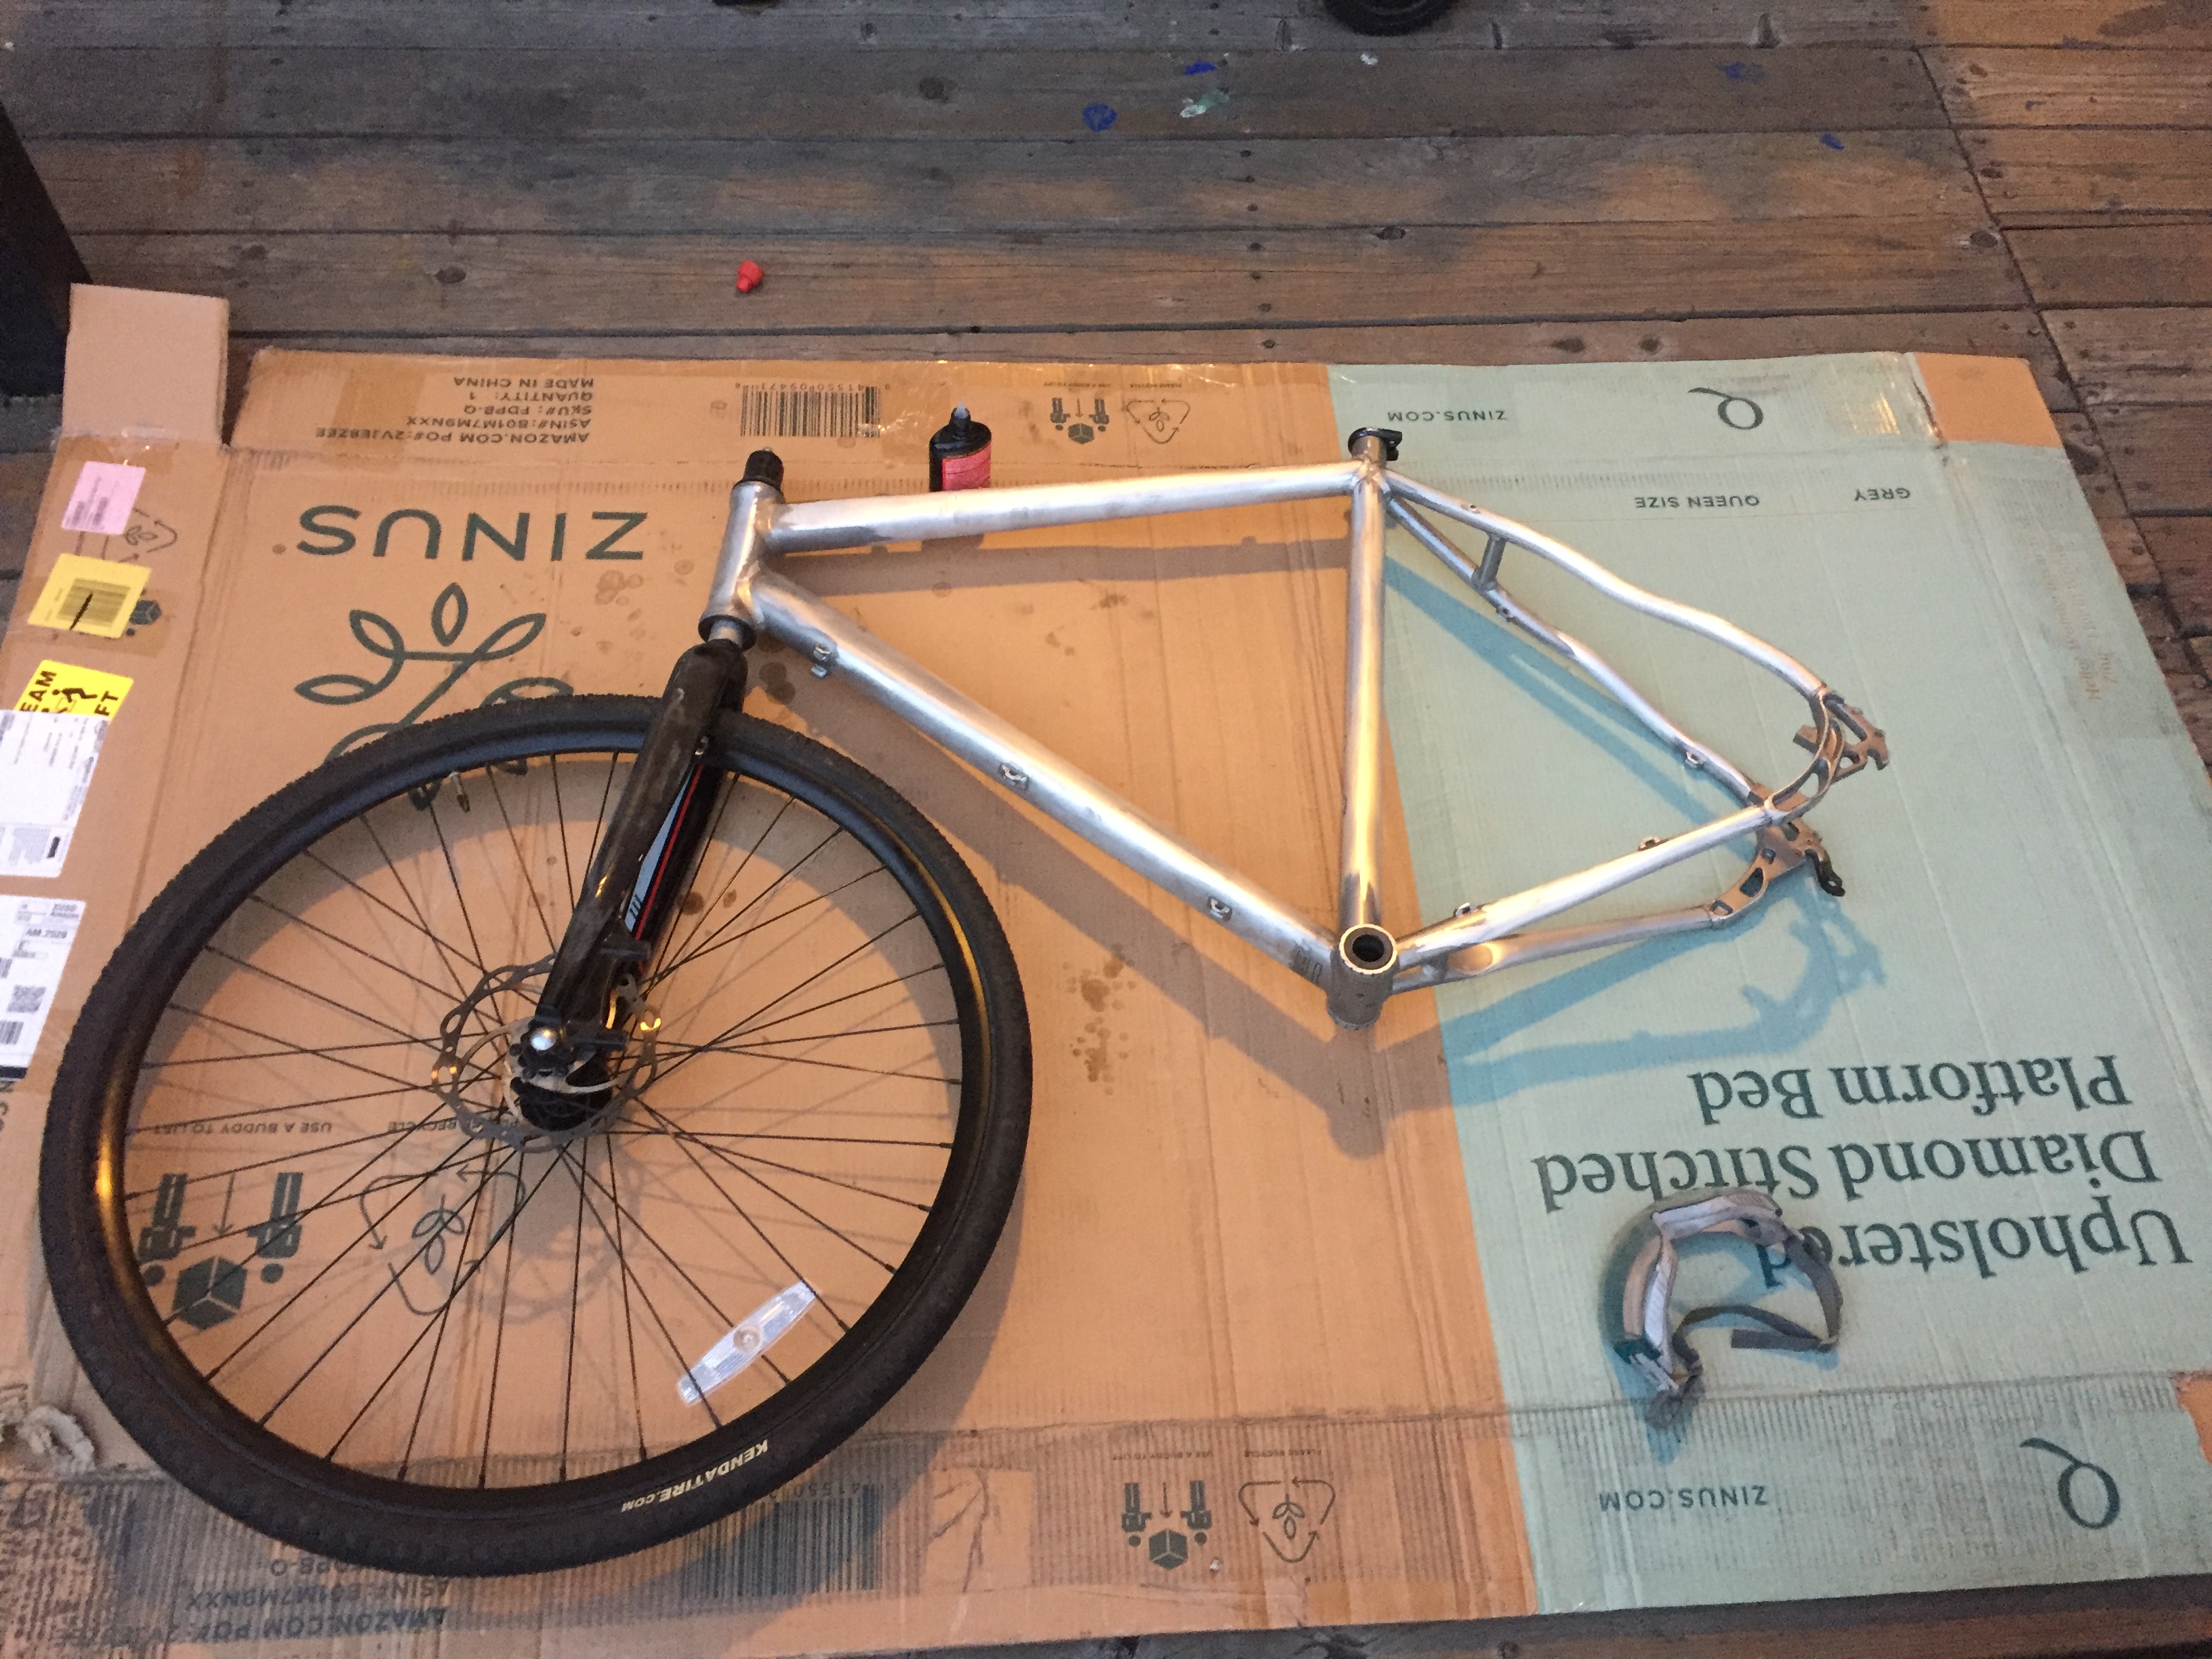
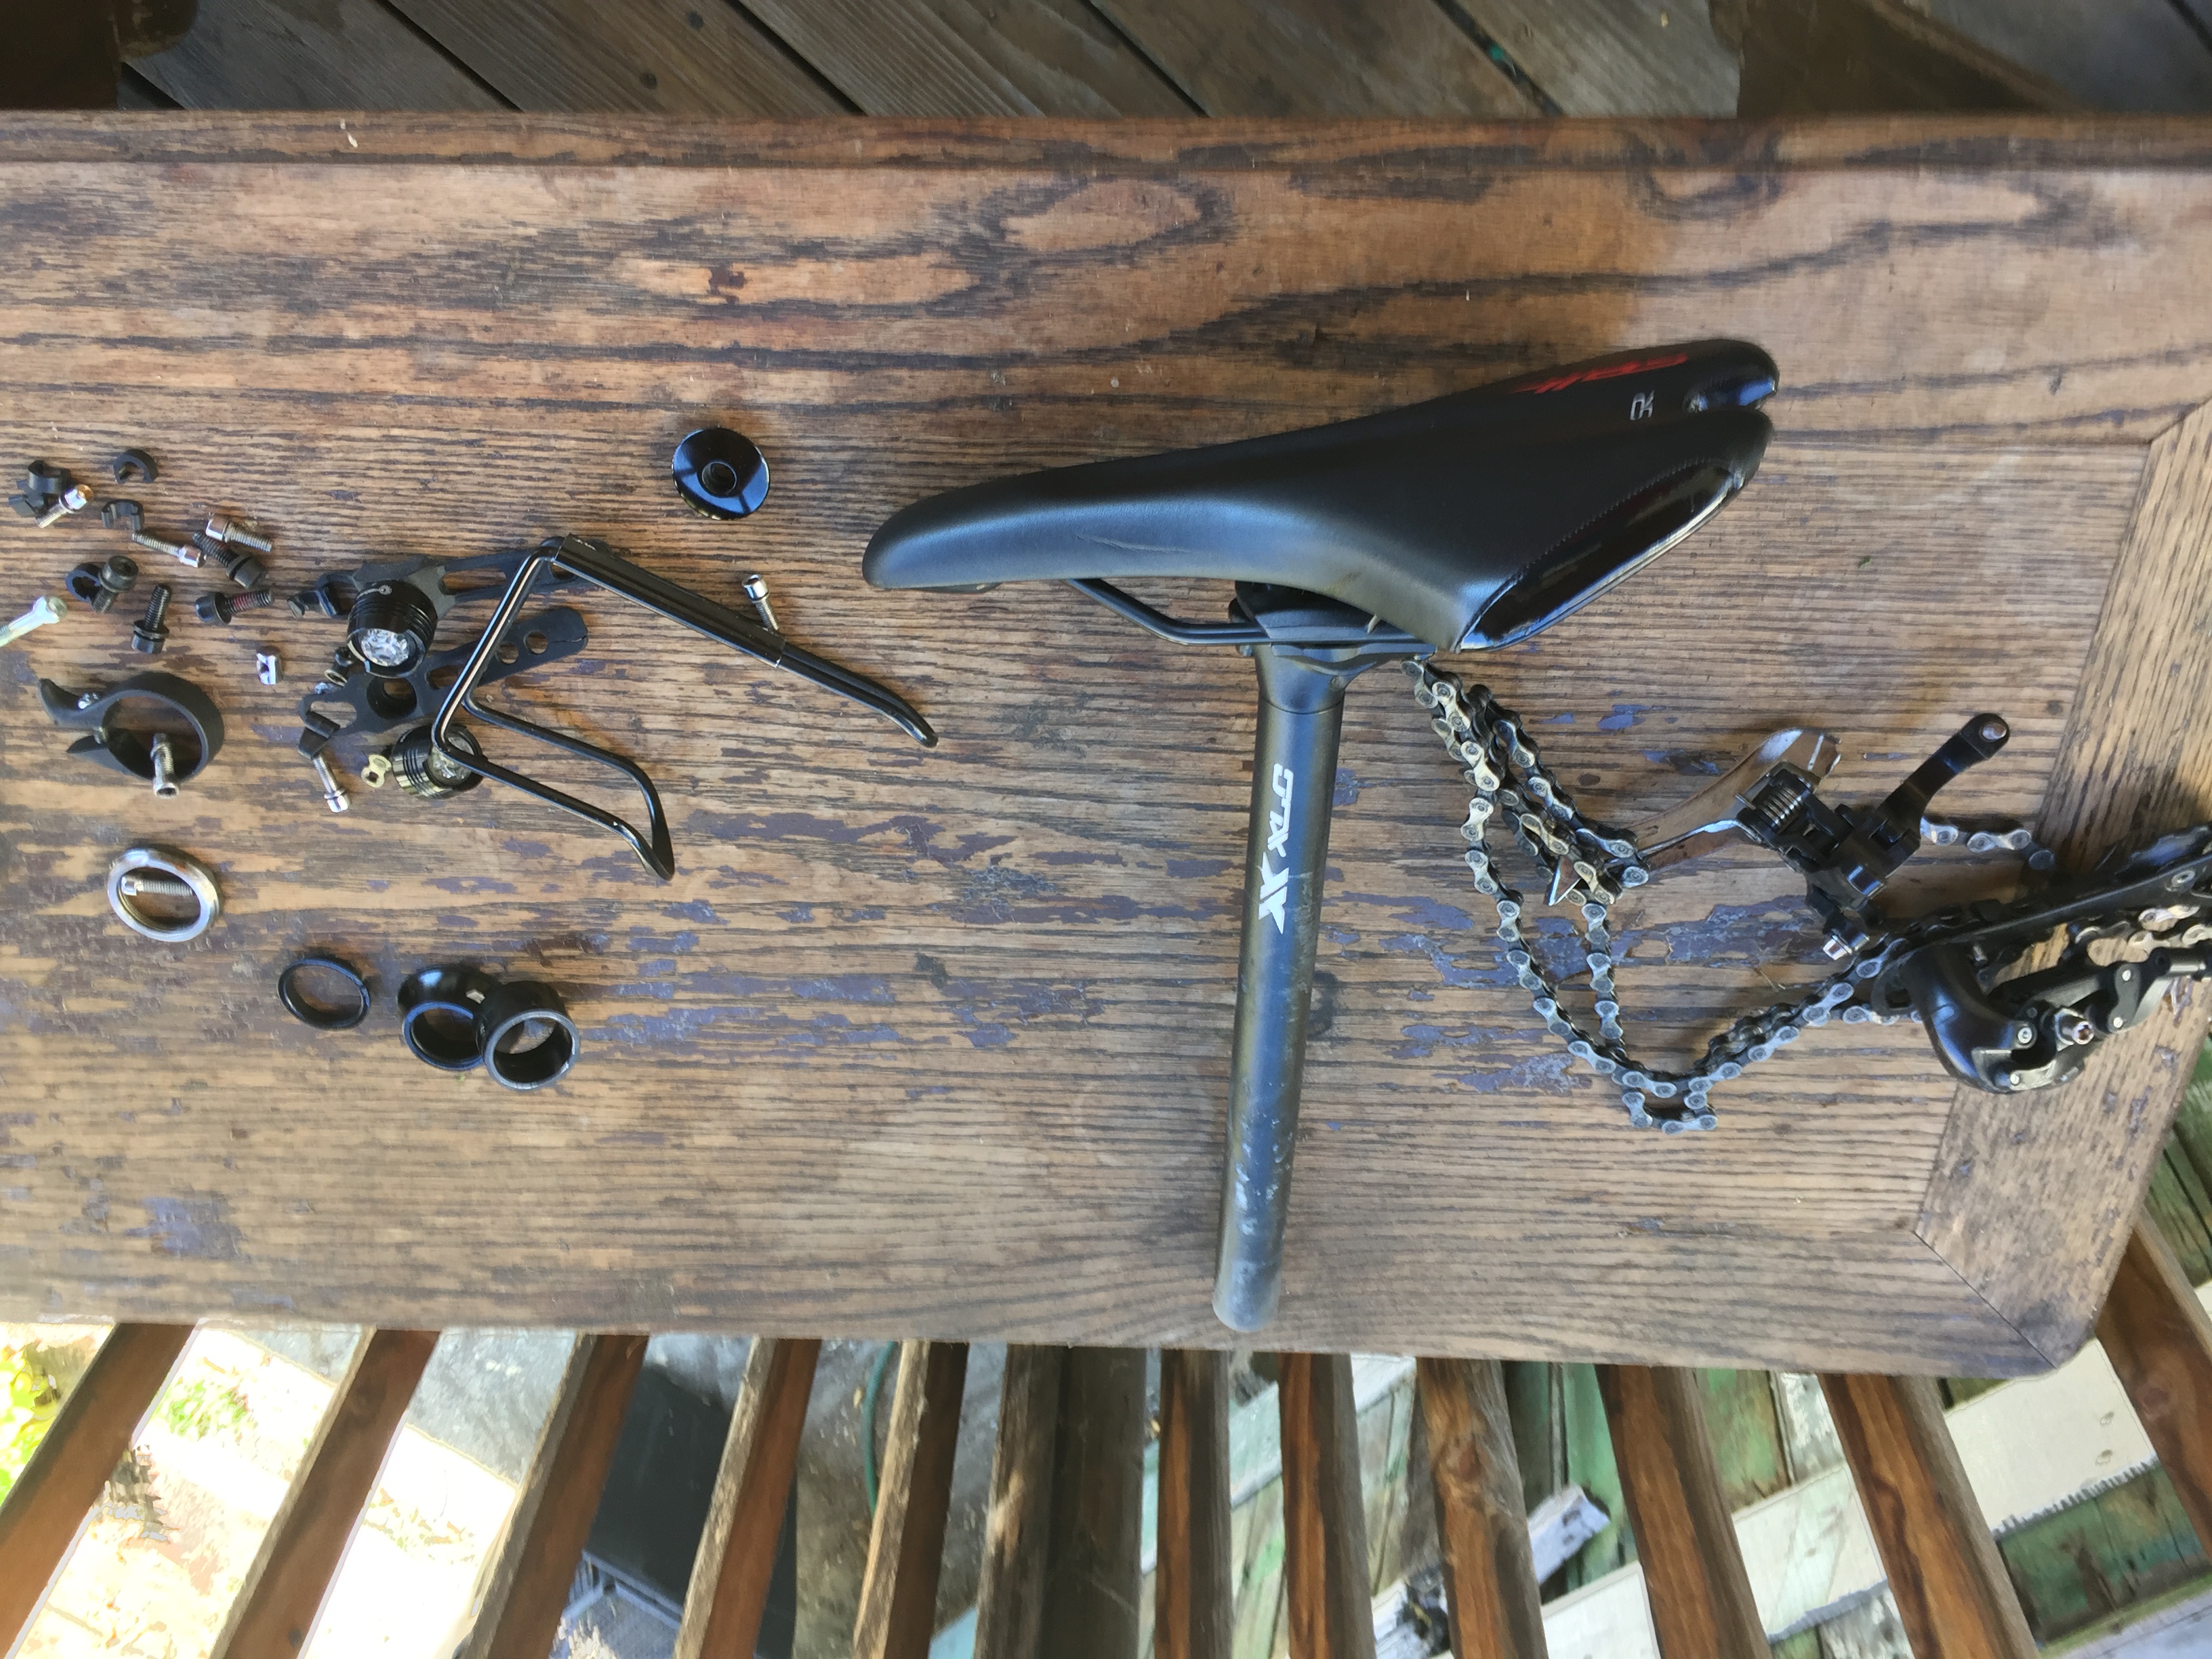
disassemble

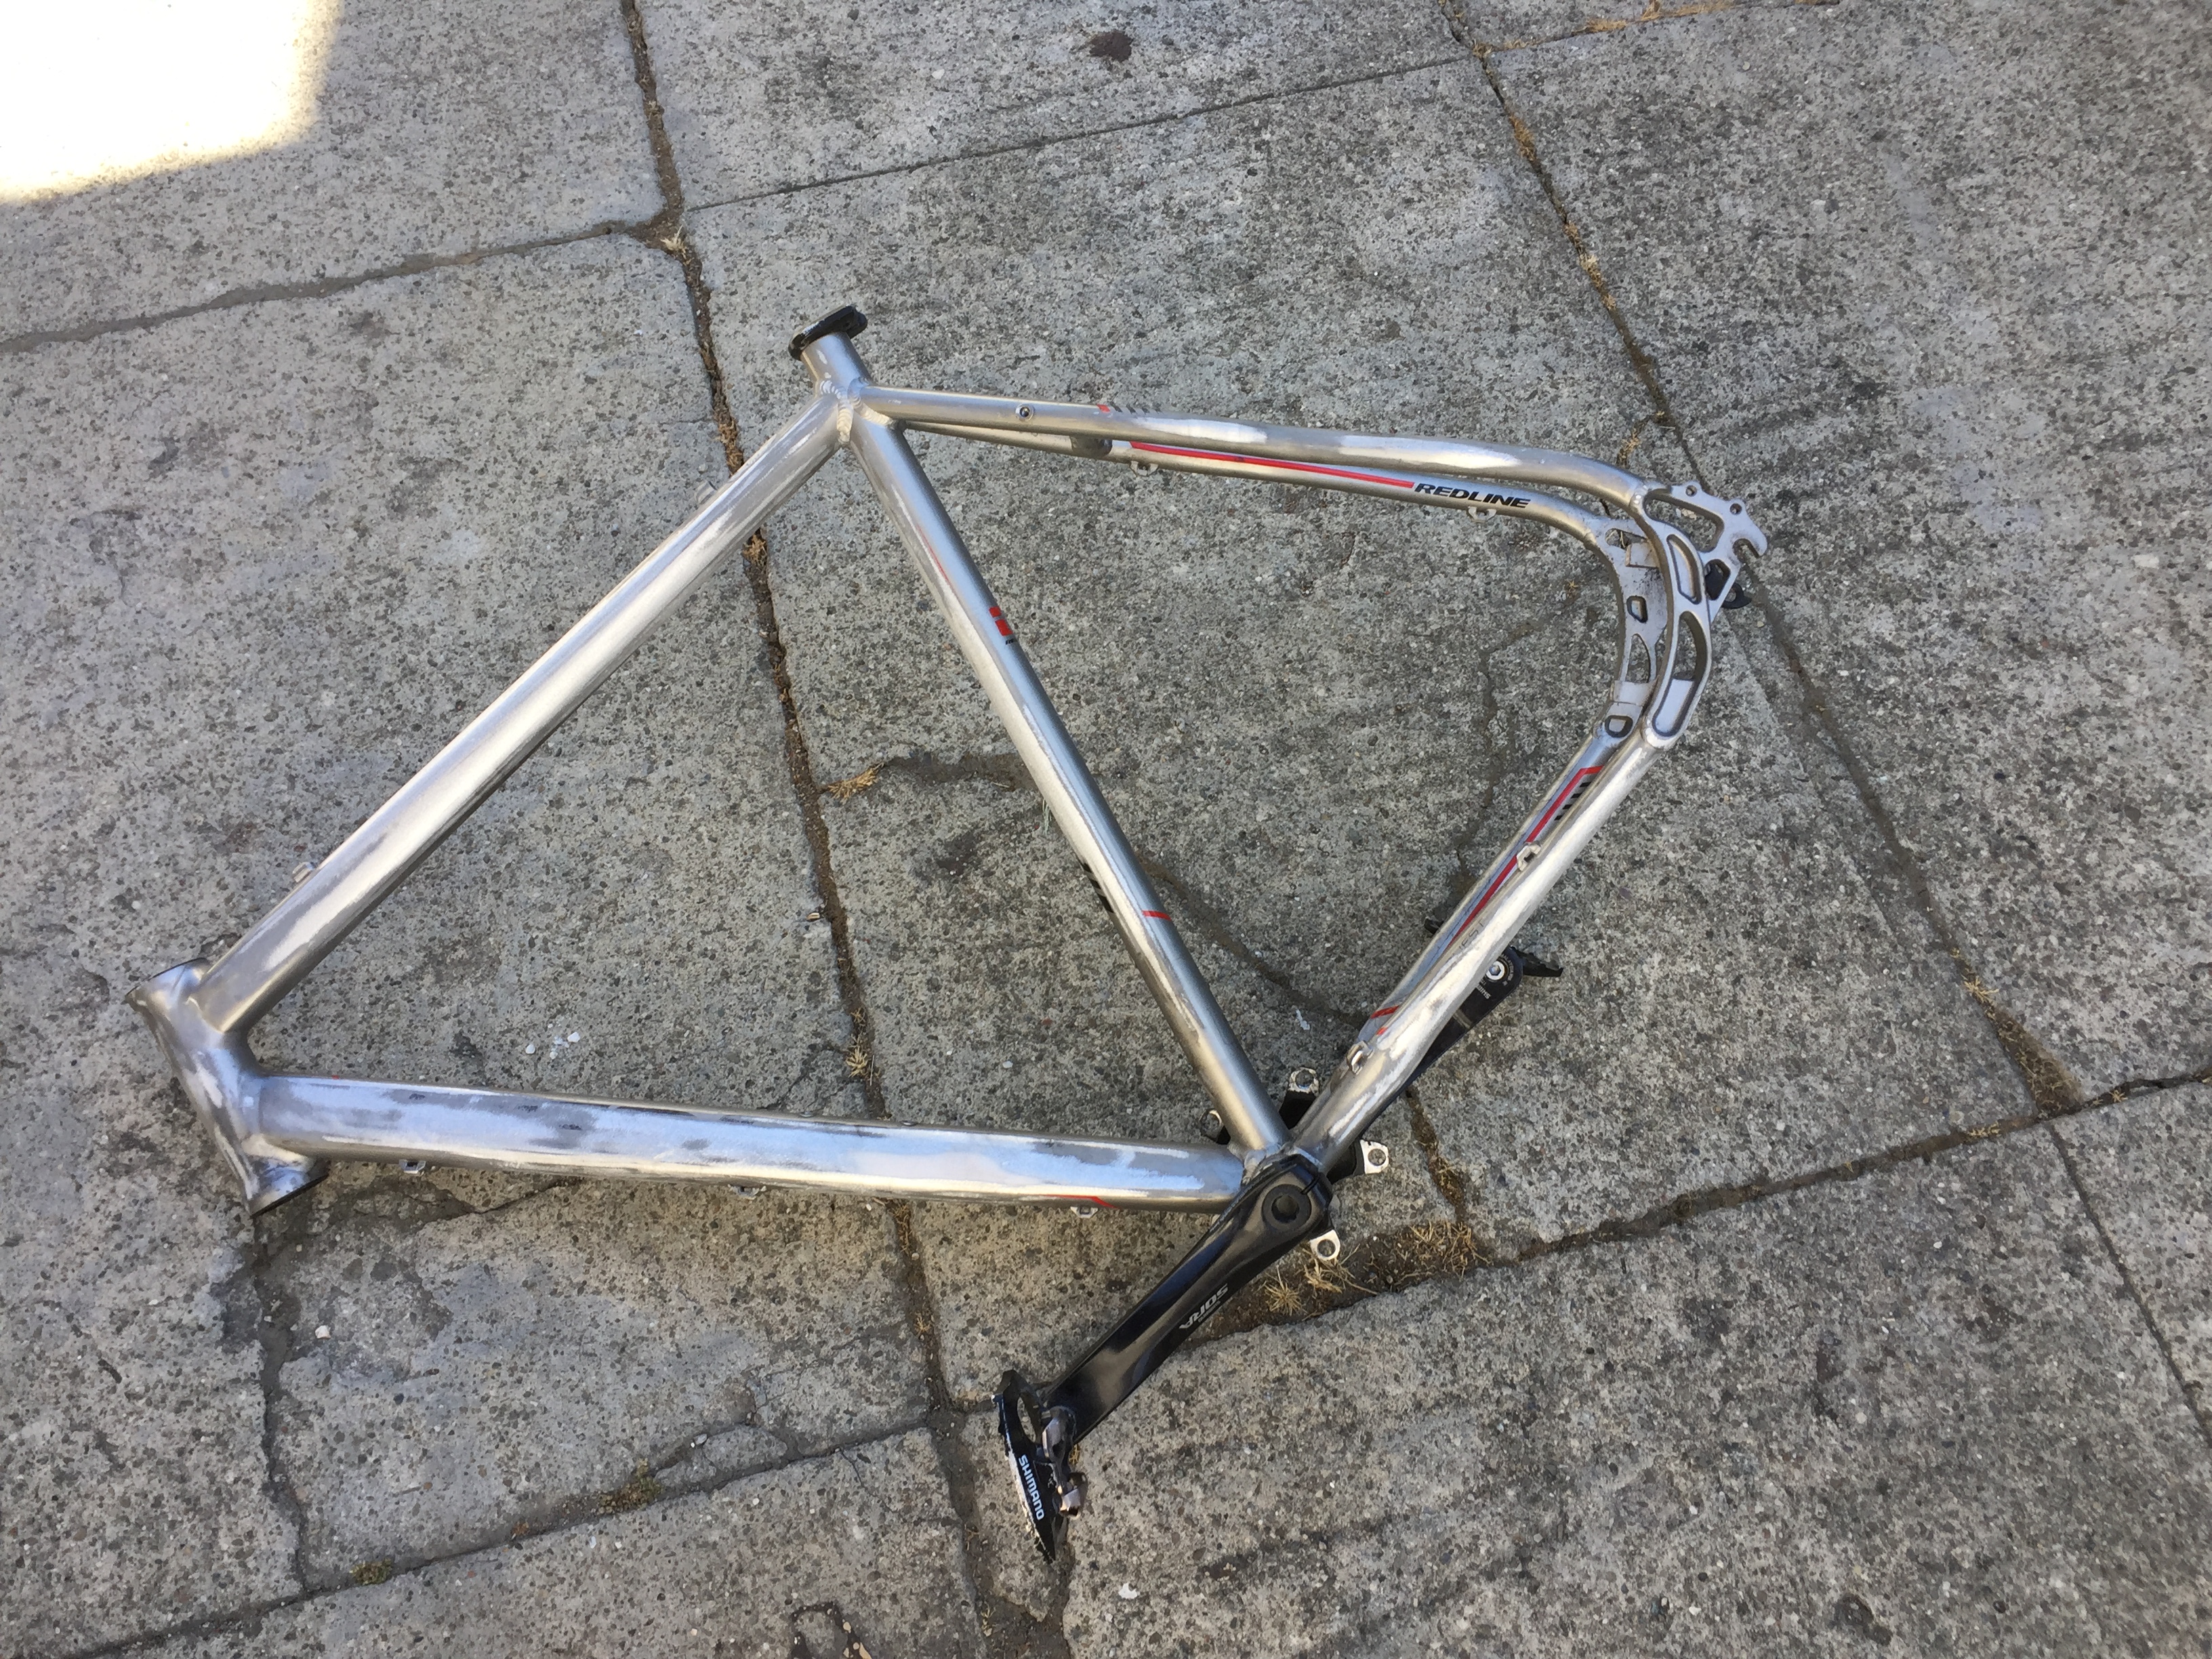
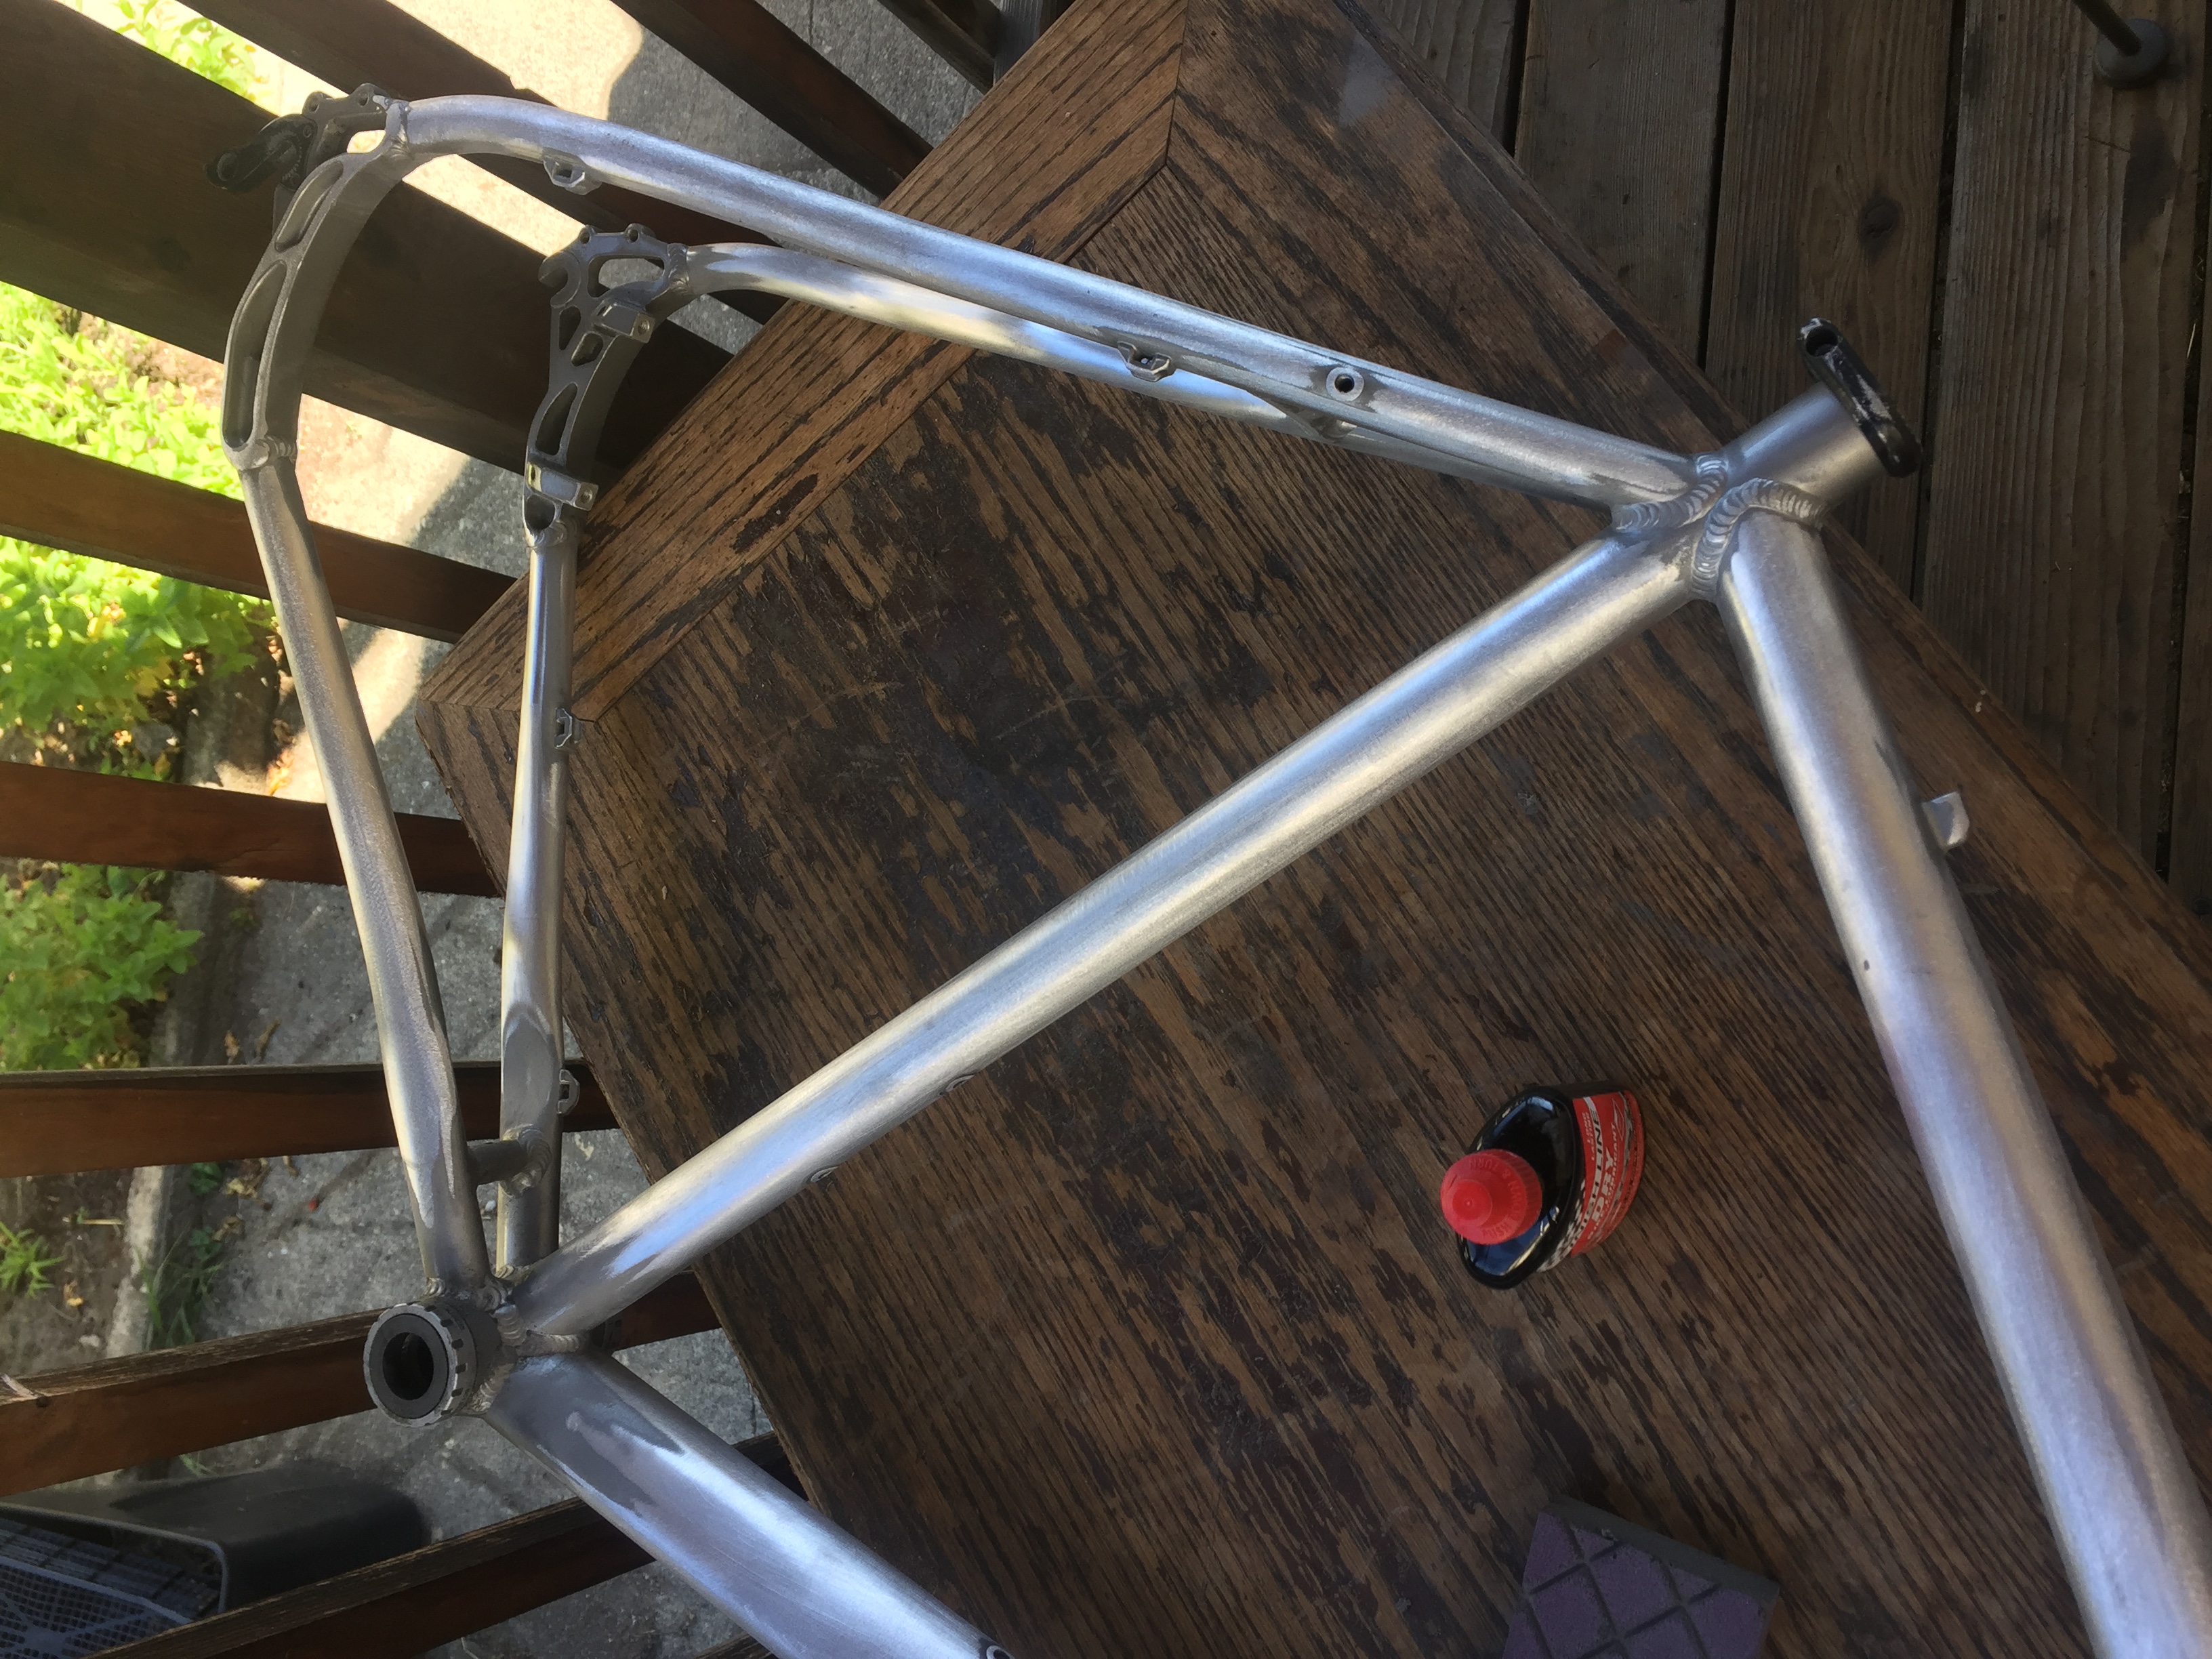
old paint removal
This phase by far took the most effort yet I don’t really have the images to
back it up. I started out mainly going by hand with sandpaper sheets, but then
switched after realizing that it was going to a tremendous amount of manual
labor to an eletric random orbital sander, while still manually doing the tighter areas
that the sander did not fit in. I started out with a coarse sander paper and
then moved to a finer grit after the bulk of the paint had been removed.
Another tool which came in handy was this sanding sponge, which was more
comfortable to use than sheets and helped get in the hard to reach areas.
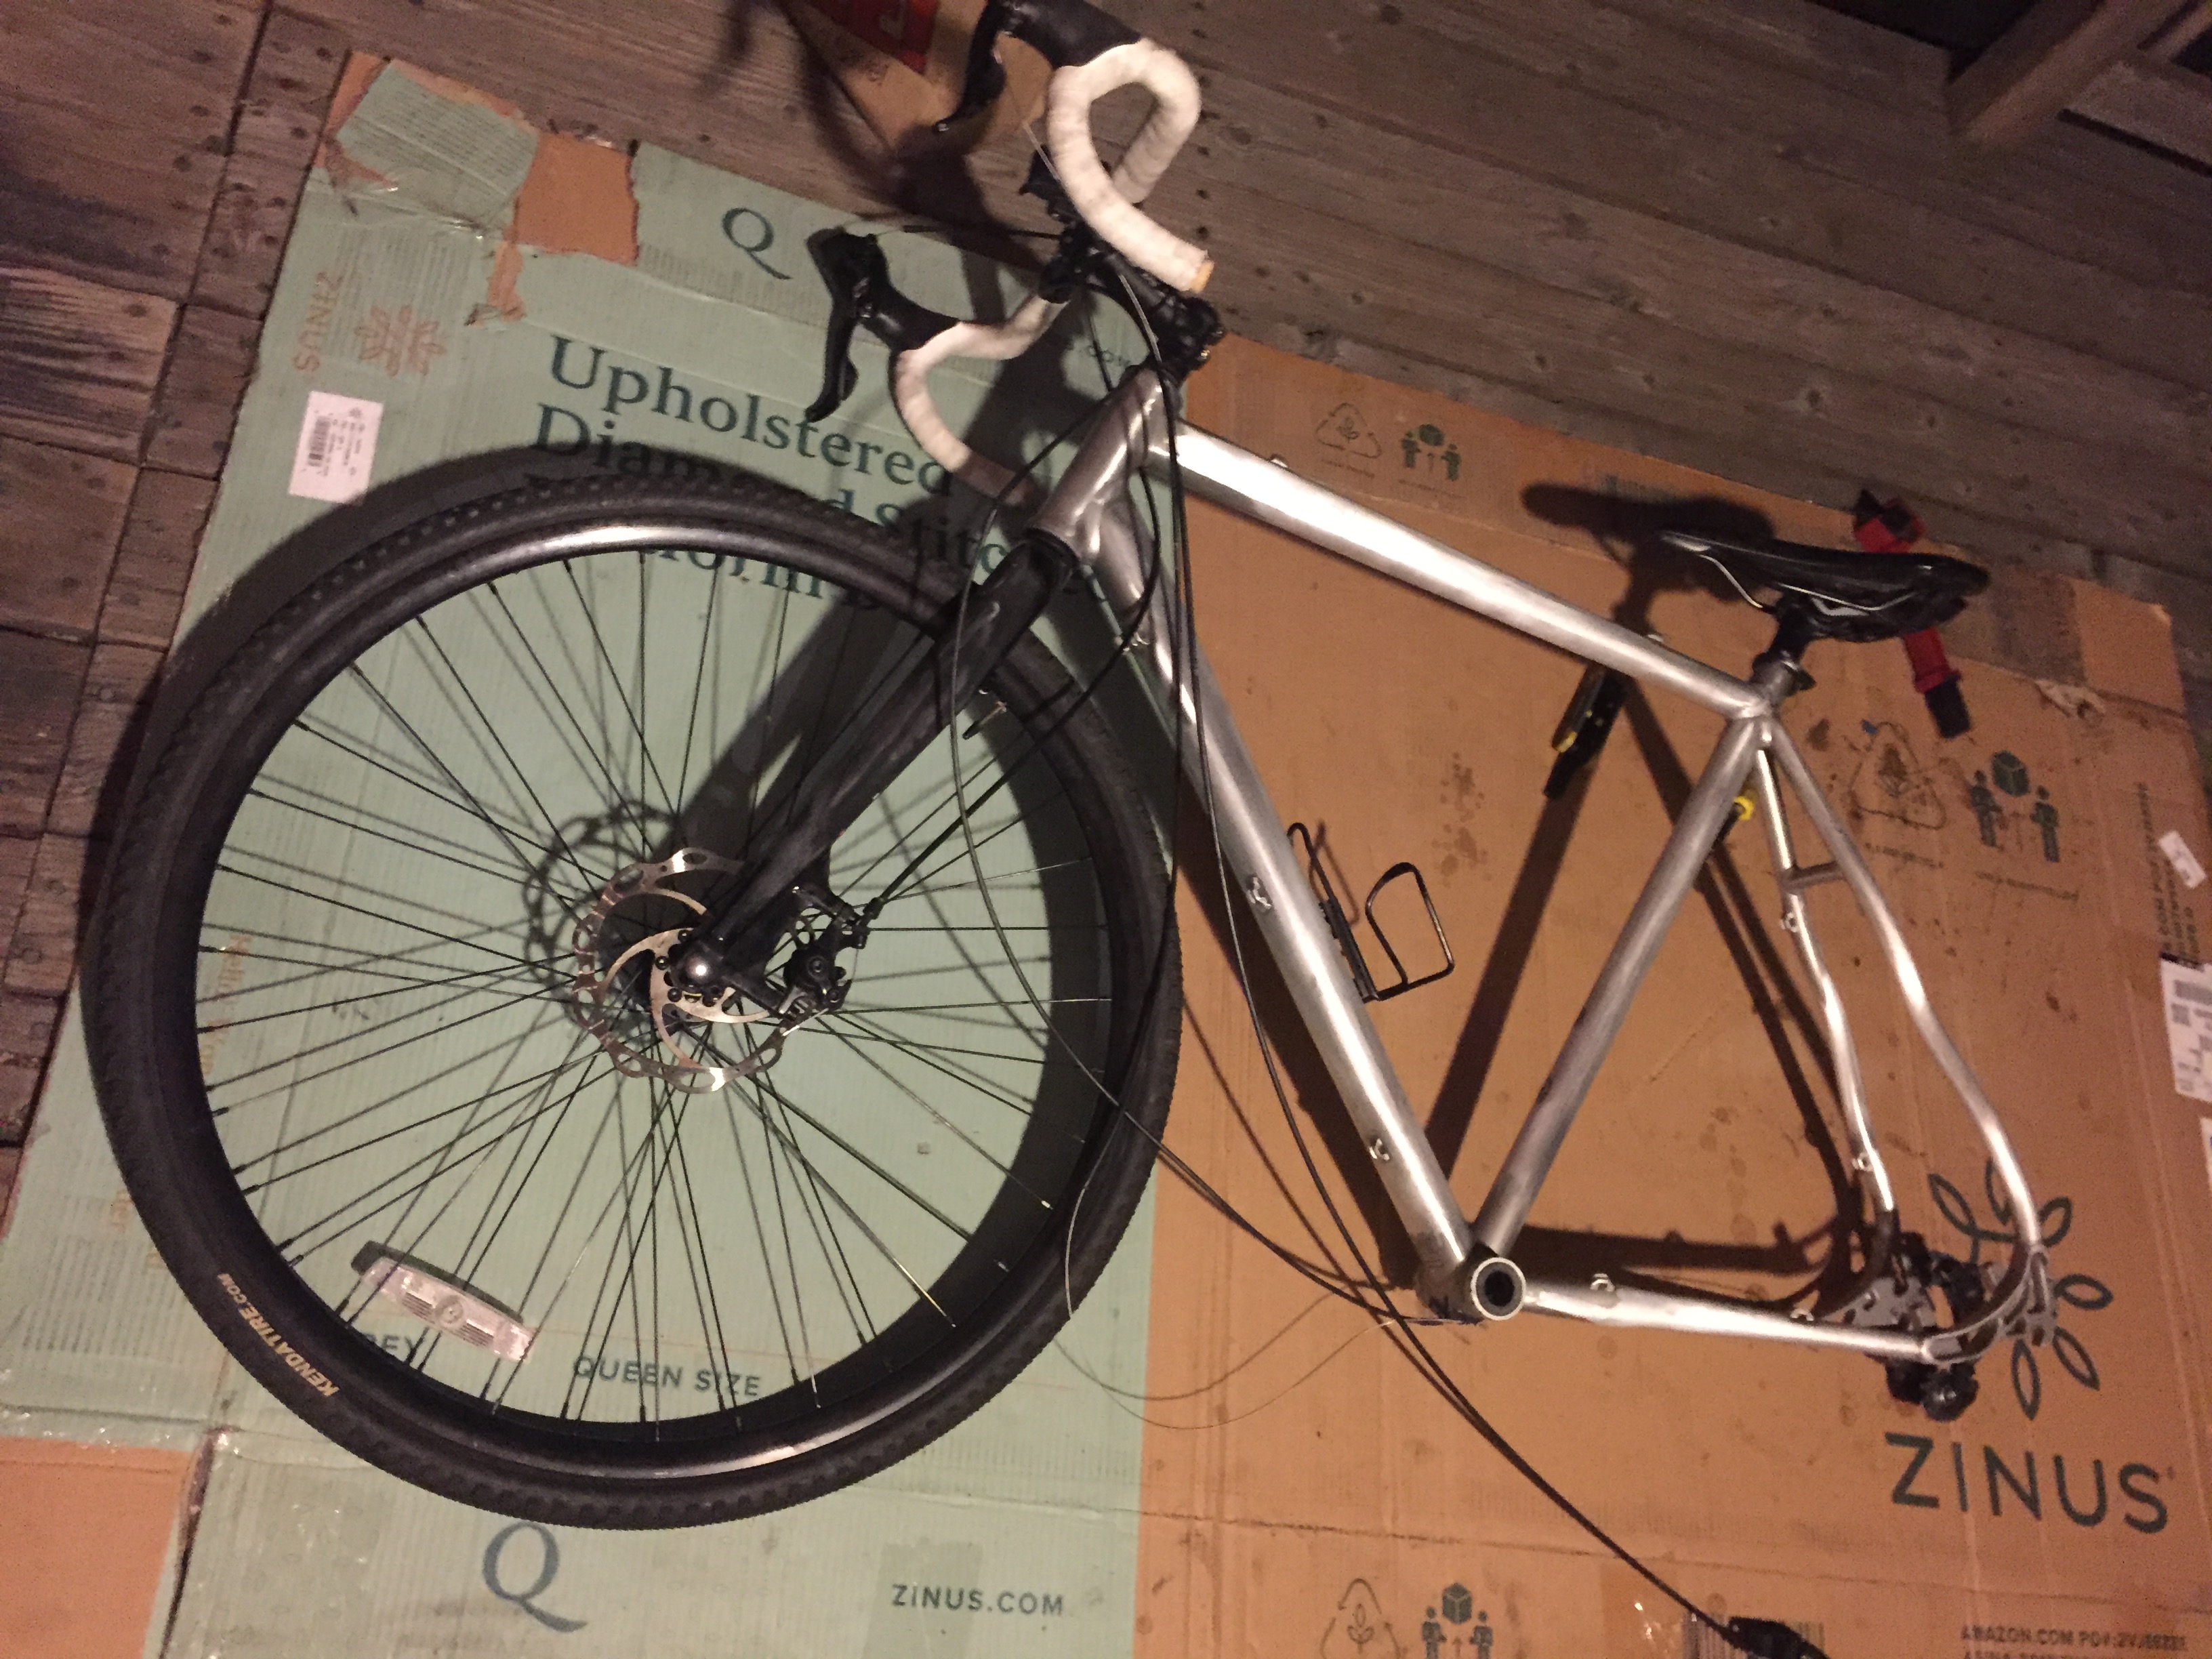
paint application


reassemble